
On the last post related to the COLDCARD Q we cover the “unboxing” and showed what you get with your order you can find that HERE, in this post we will cover the initial setup of the Q, we will be setting up as a new wallet.
Let’s get started:
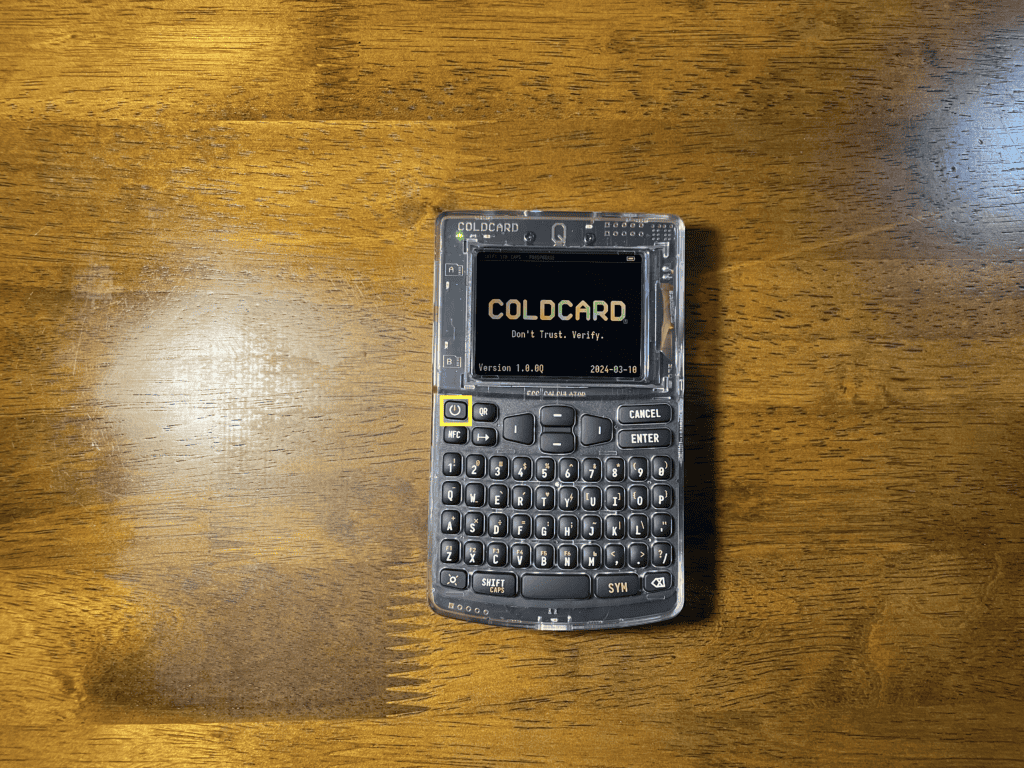
First we need to power the Q in order to do this I went with the new method and installed three triple A batteries it could also be powered using a USB-C cable, once we have powered supplied to the Q go ahead and hold down the power button in order to turn the device on.
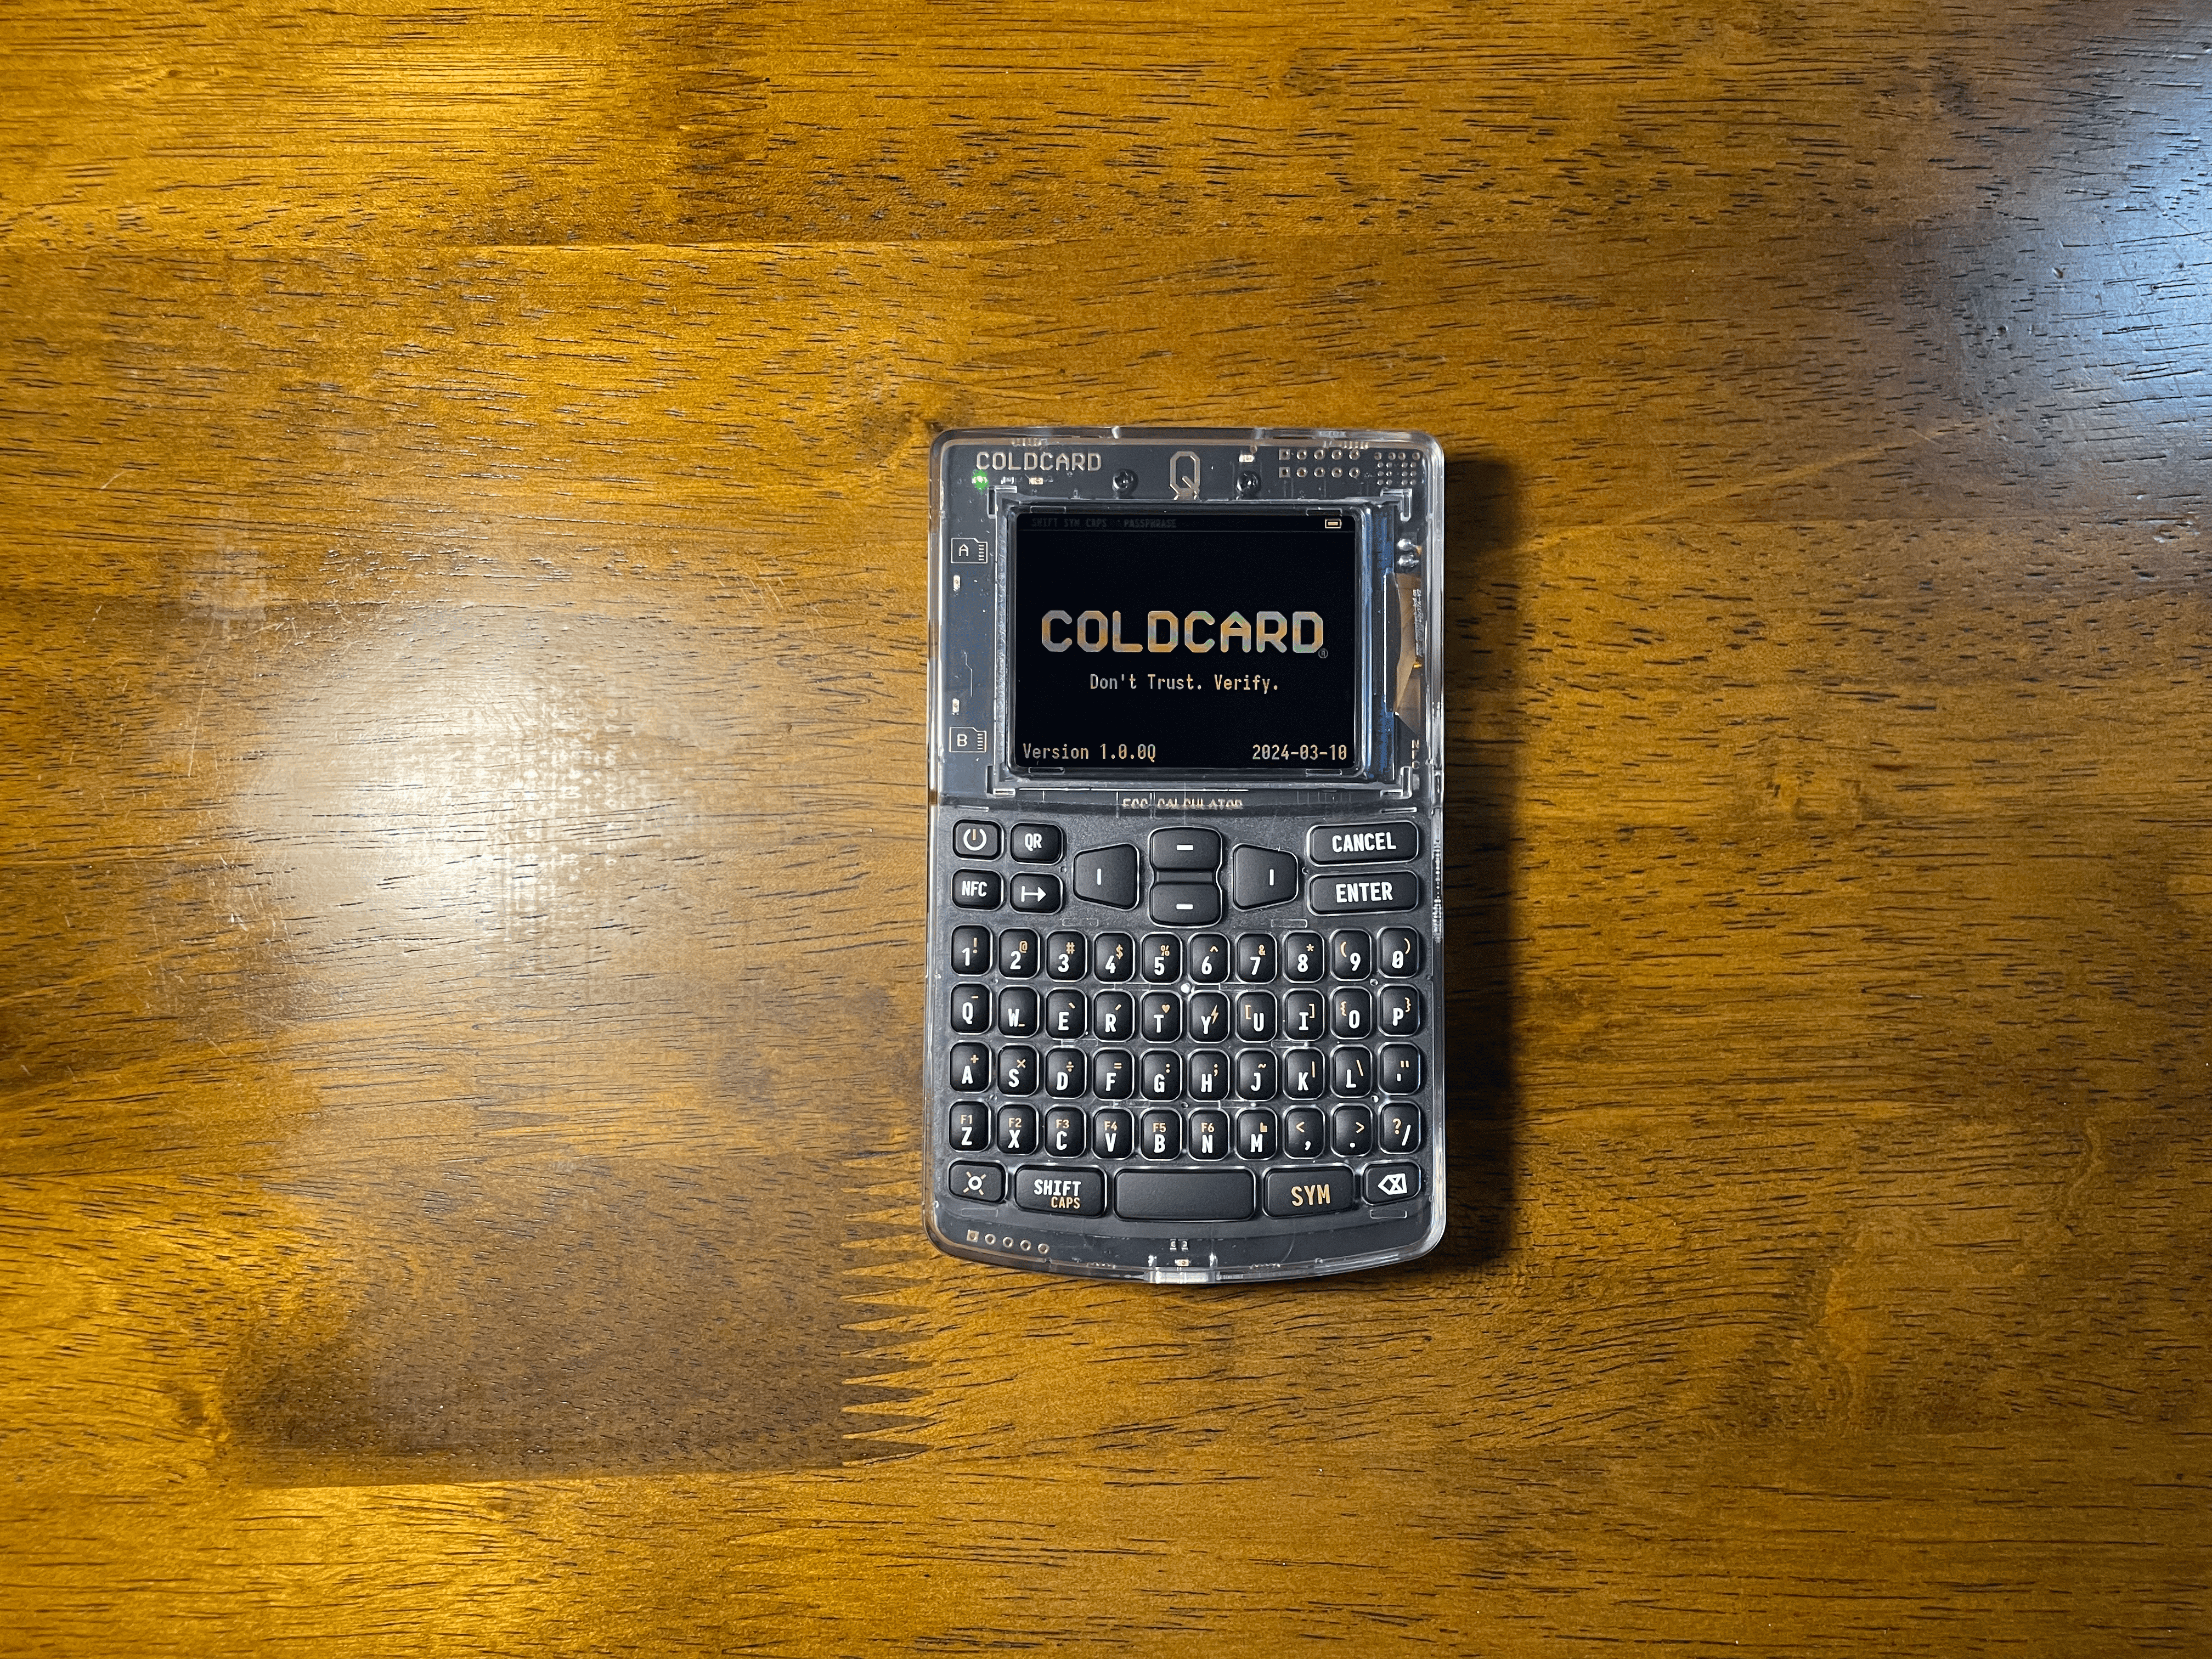
theOnce the device powers on you will be presented with the COLDCARD logo the firmware version and date on screen.
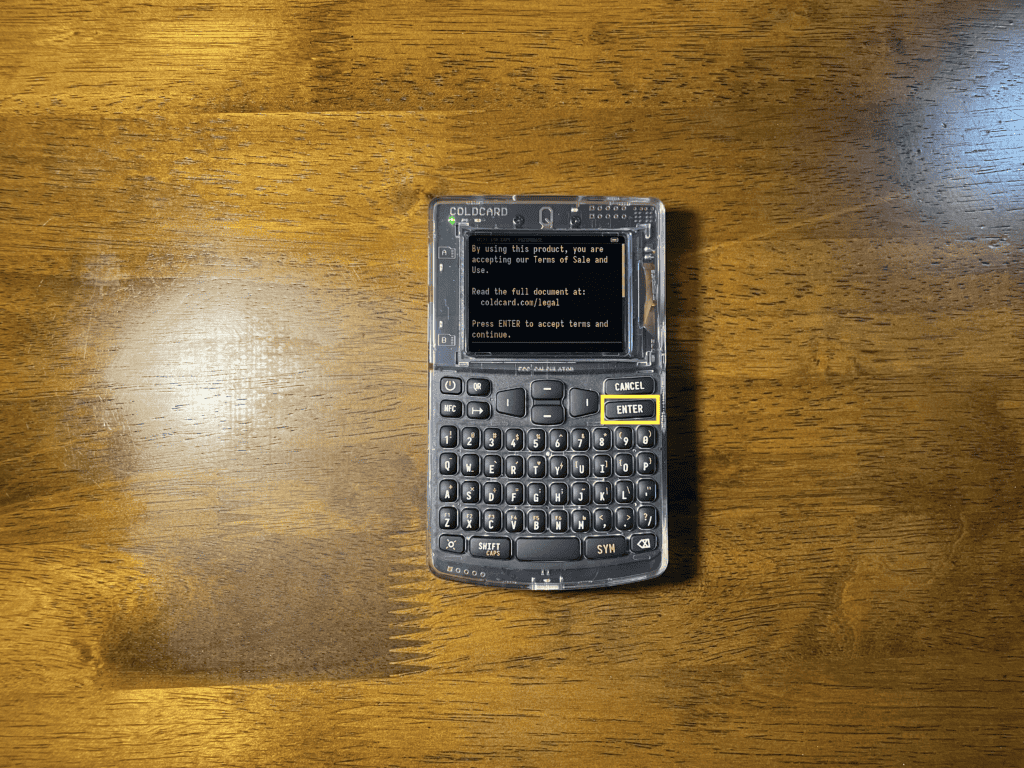
On the following screen you will get the legal disclaimer from Coinkite in order to proceed to need to hit enter and agree if you would like more detail there is a link displayed where you can read the full terms.
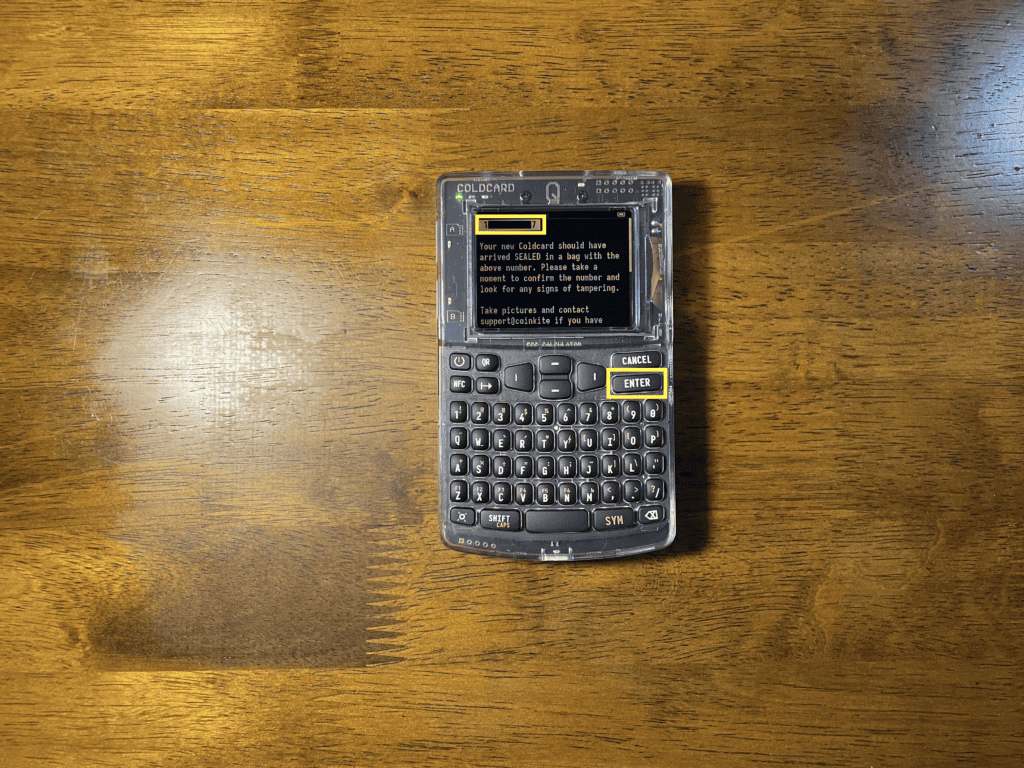
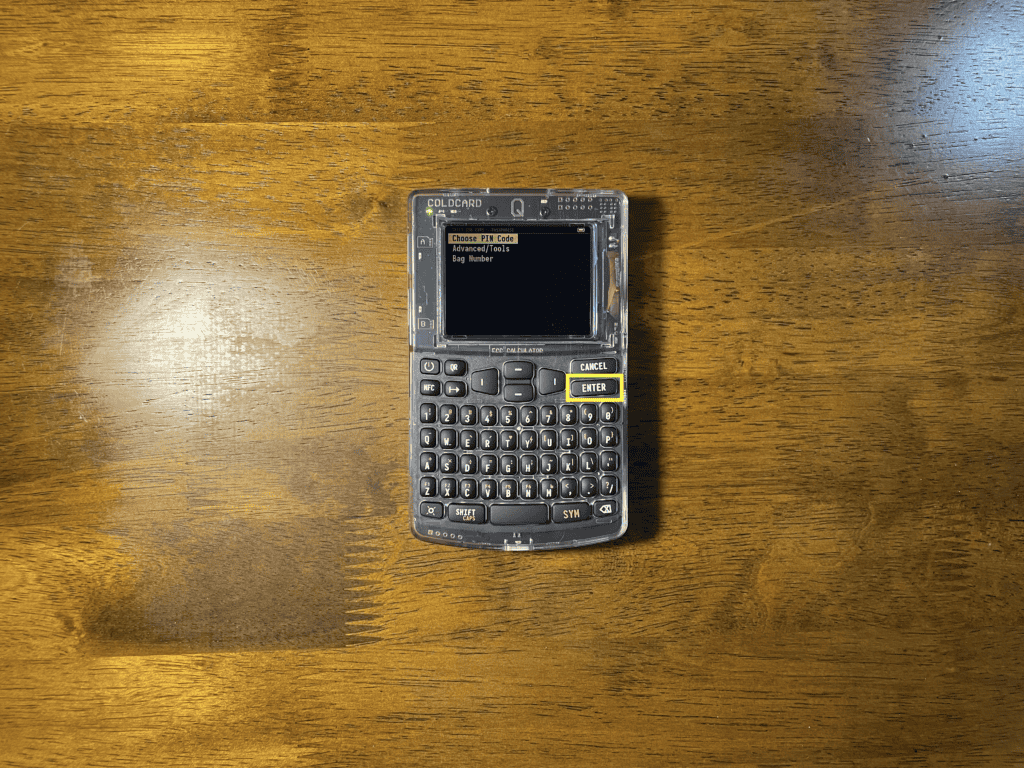
On the following screen in order to verify that your hardware has not been tampered with you will need to verify that the bag number that recorder on your Q shown on the left upper corner matches the number of your bag, once this has been verified go ahead and hit the ENTER key to continue.
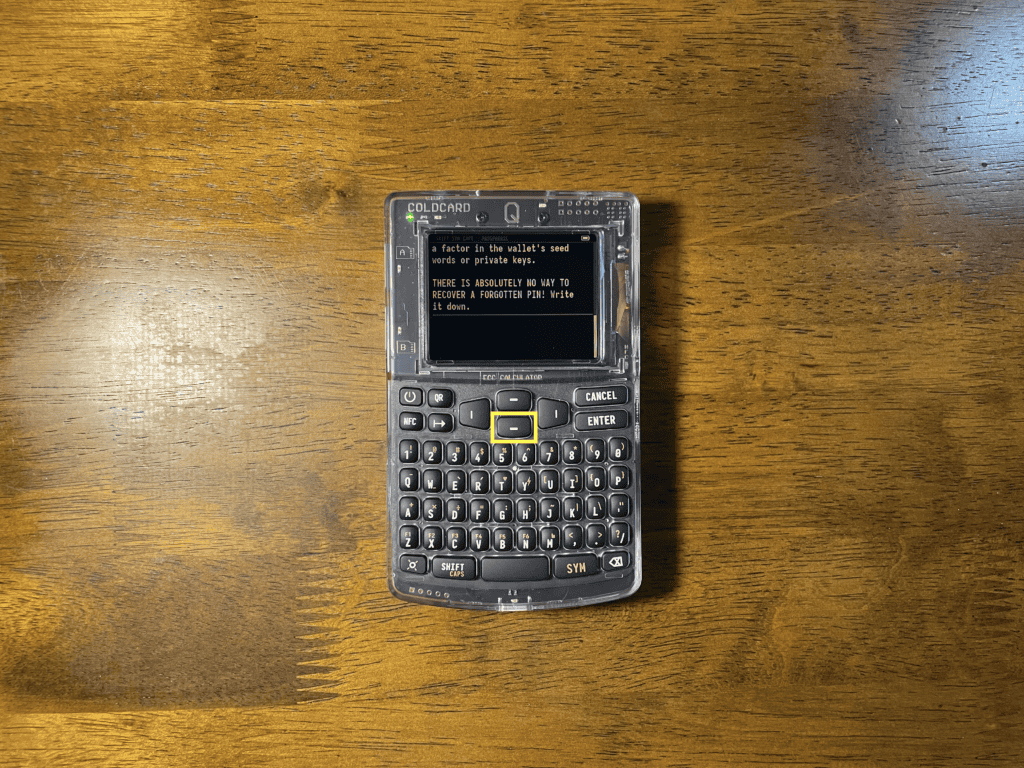
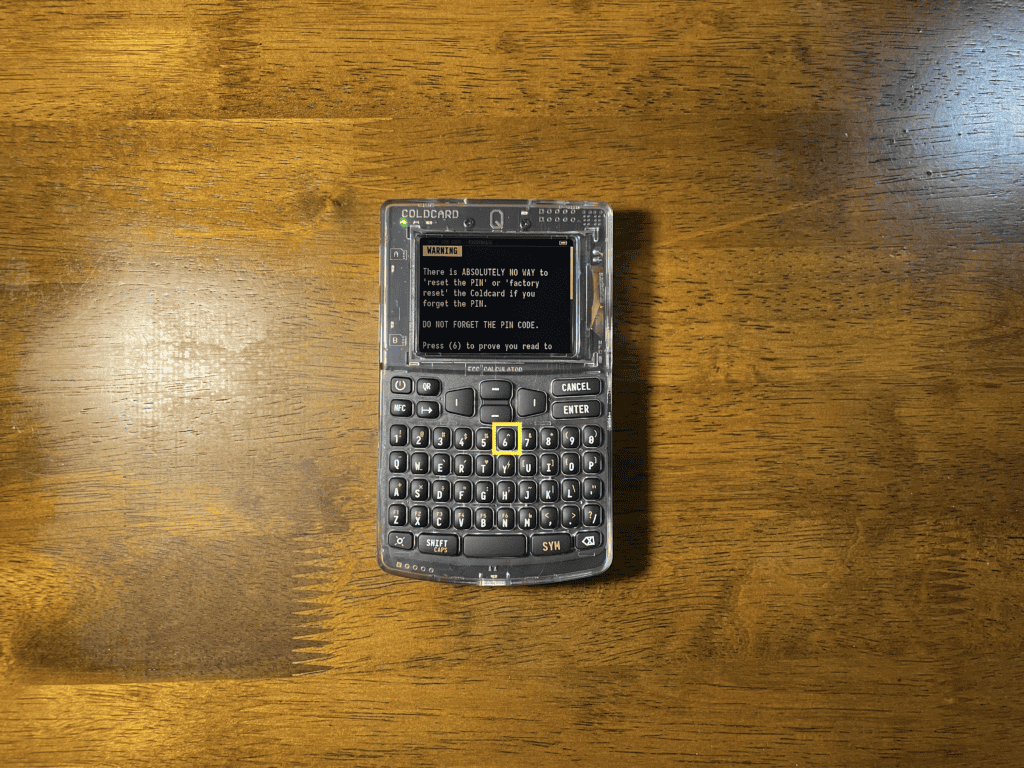
Next you will need to create your pin number scroll down to read through guidance on best practices for your pin creation and safety warnings to take into account in order to safeguard your pin since there is no way to recover a lost or forgotten pin, after you have scroll down all the way to ensure that you have read and understood the information provide you will need to hit the number “6” key.
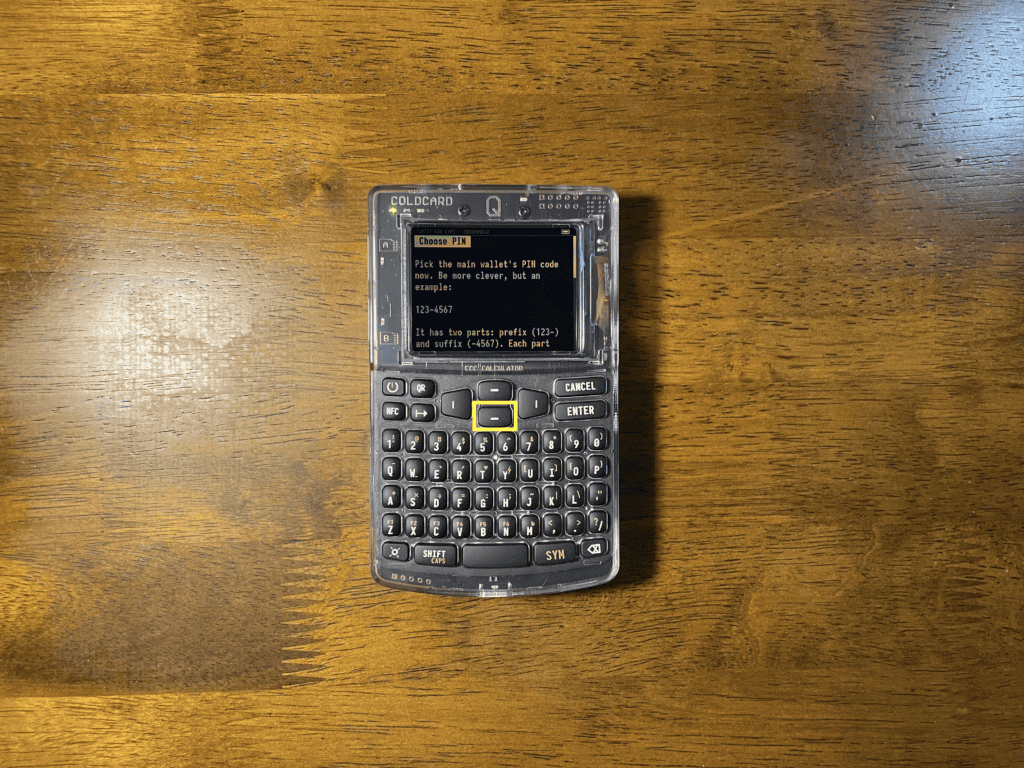
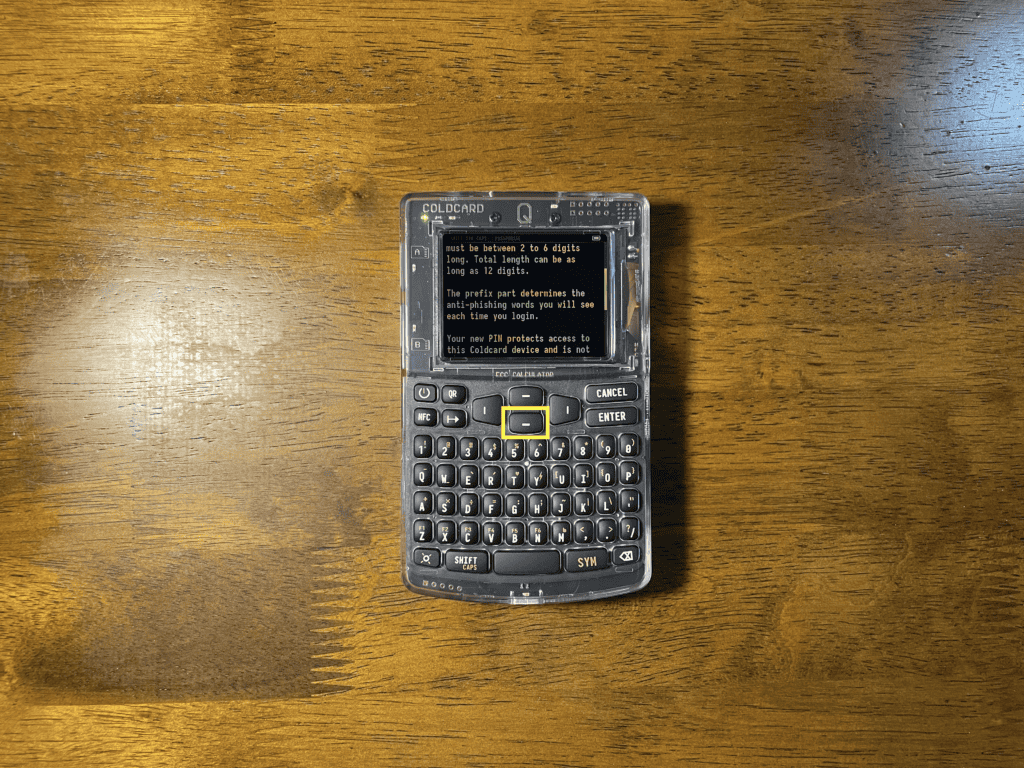
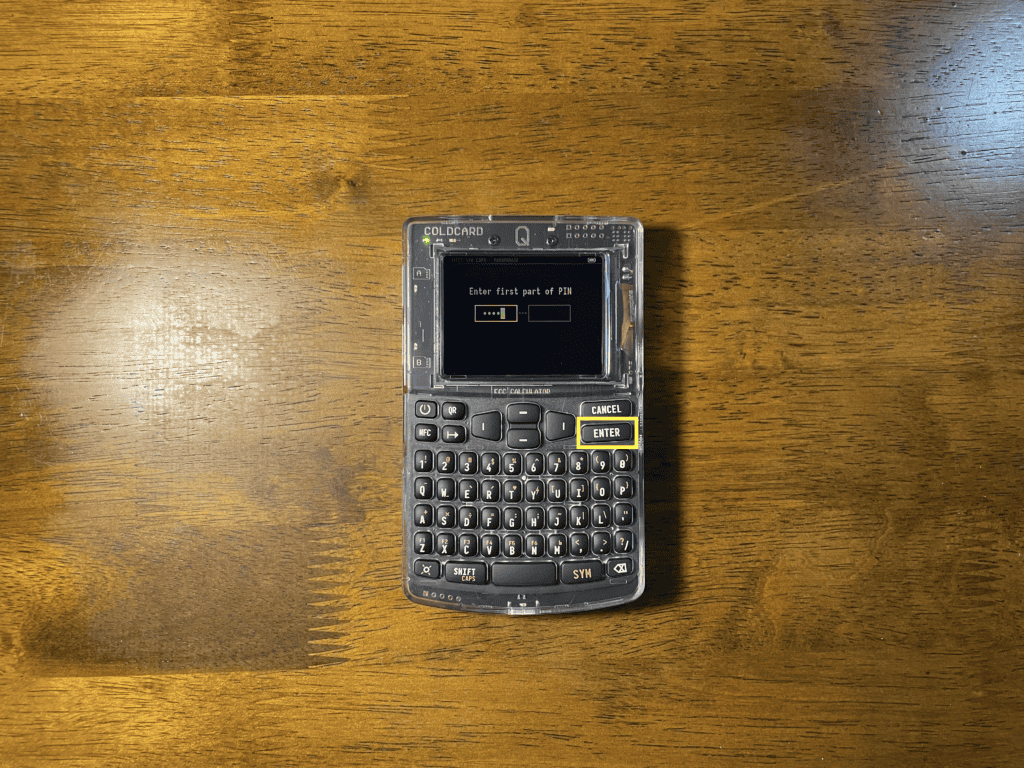
Now go ahead and enter the first part of your pin it needs to have minimun of two digits and a maximum of six, please note this first part of your pin on your Wallet backup card provided with your device.
Once you have entered the first portion of your pin and hit the enter key you will be presented with two words these are your Anti-Phishing word please write these two words on your wallet backup card, after you have completed your setup every time you enter the first portion of your pin your two words will show for you to verify, these two words will not change, if the words displayed do not match your original words you have either entered the wrong pin or your hardware may have been tampered with.
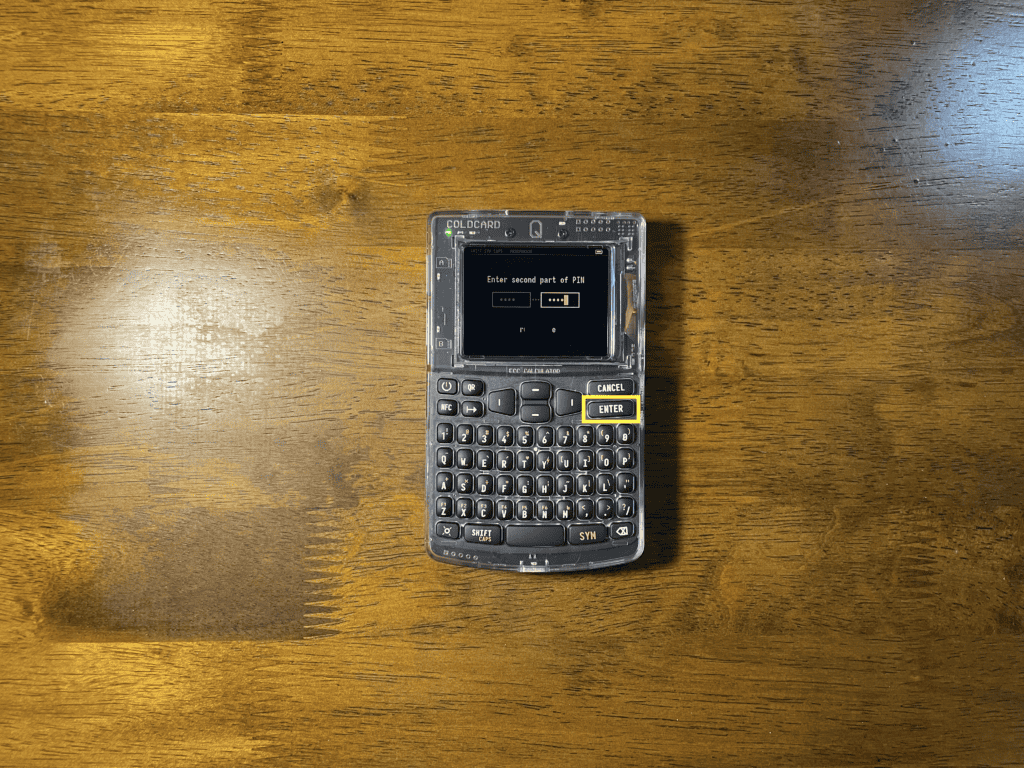
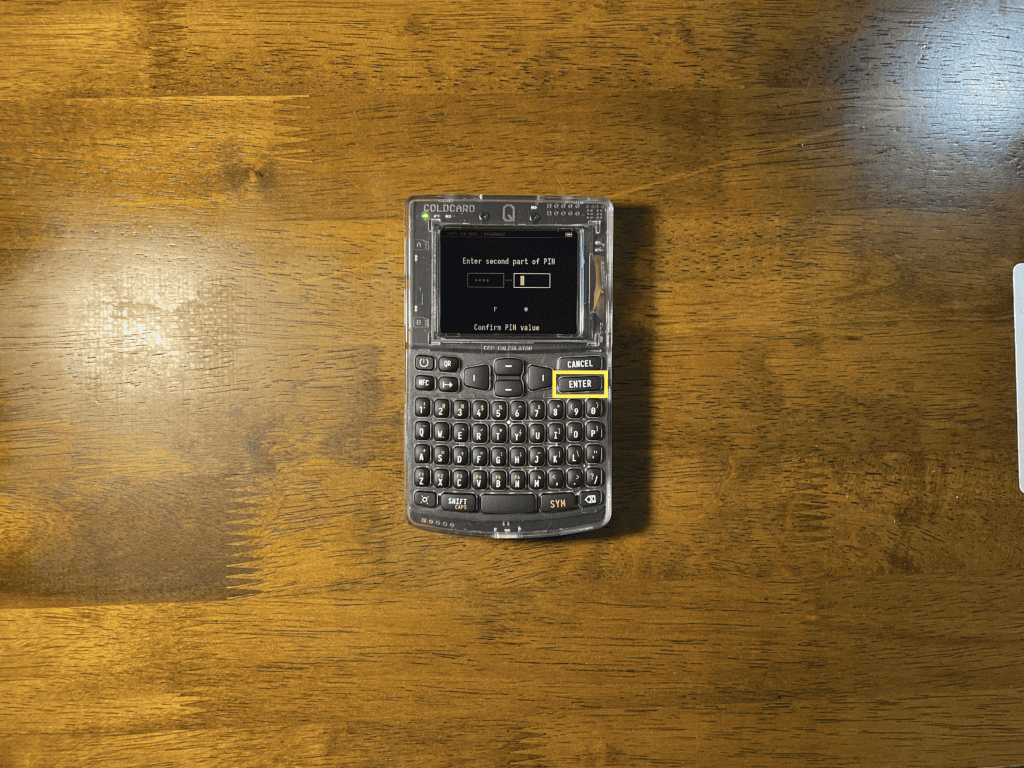
You will now need to enter the second part of your pin and hit the ENTER key, please do not forget to save the second portion of your pin on your wallet backup card.
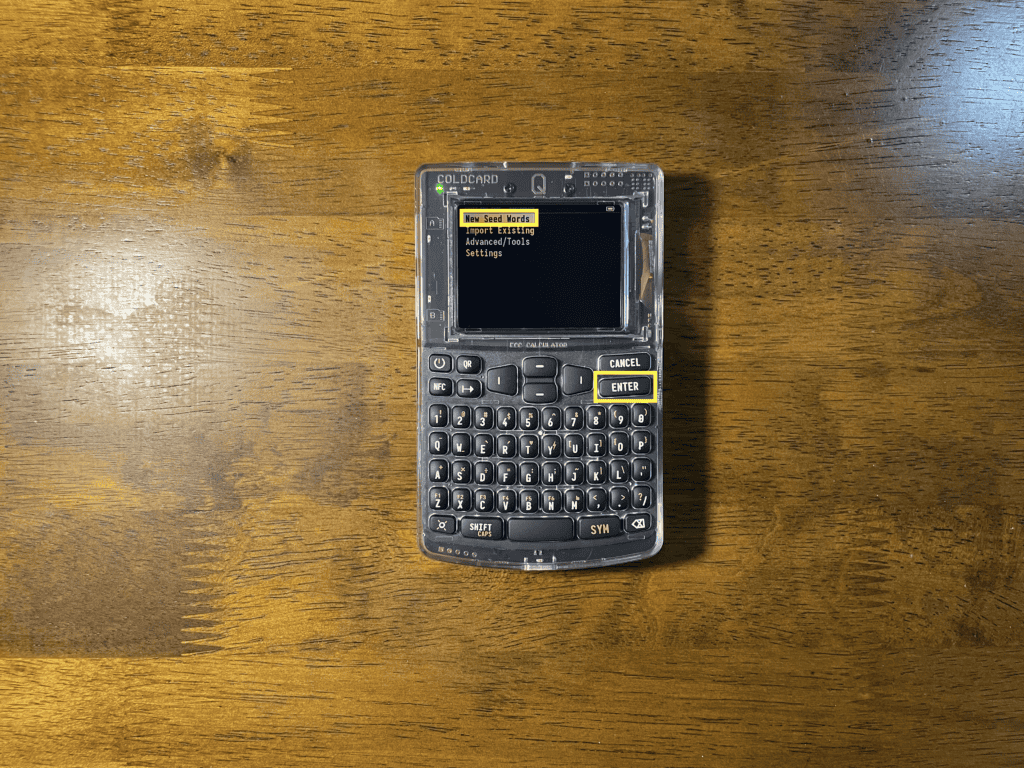
Next as previously mentioned I will be setting this wallet as a new wallet based on this we will select “New Seed Words” from the menu, you could also import an existing wallet that you may want or need to recover or transfer from a different hardware manufacturer to coldcard by selecting “Import Existing” and entering the twelve or twenty four seed words.
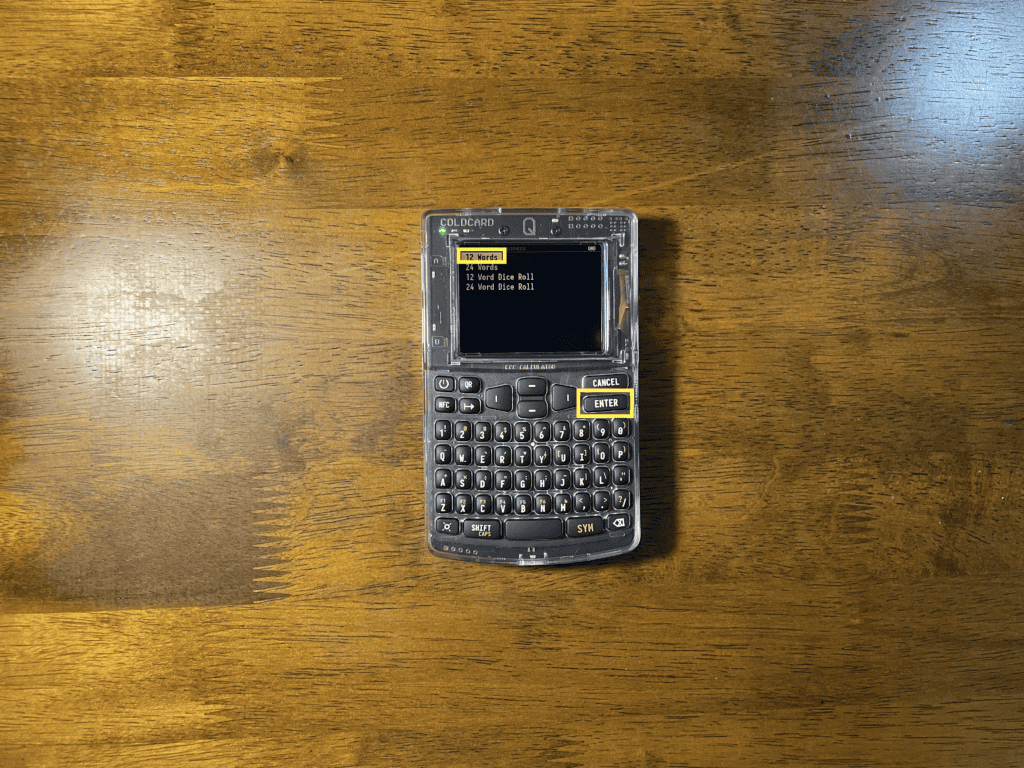
Next you will need to choose how many seed word do you want to use to create you wallet, I chose twelve but you can choose twentyfour or dice rolls if you prefer.
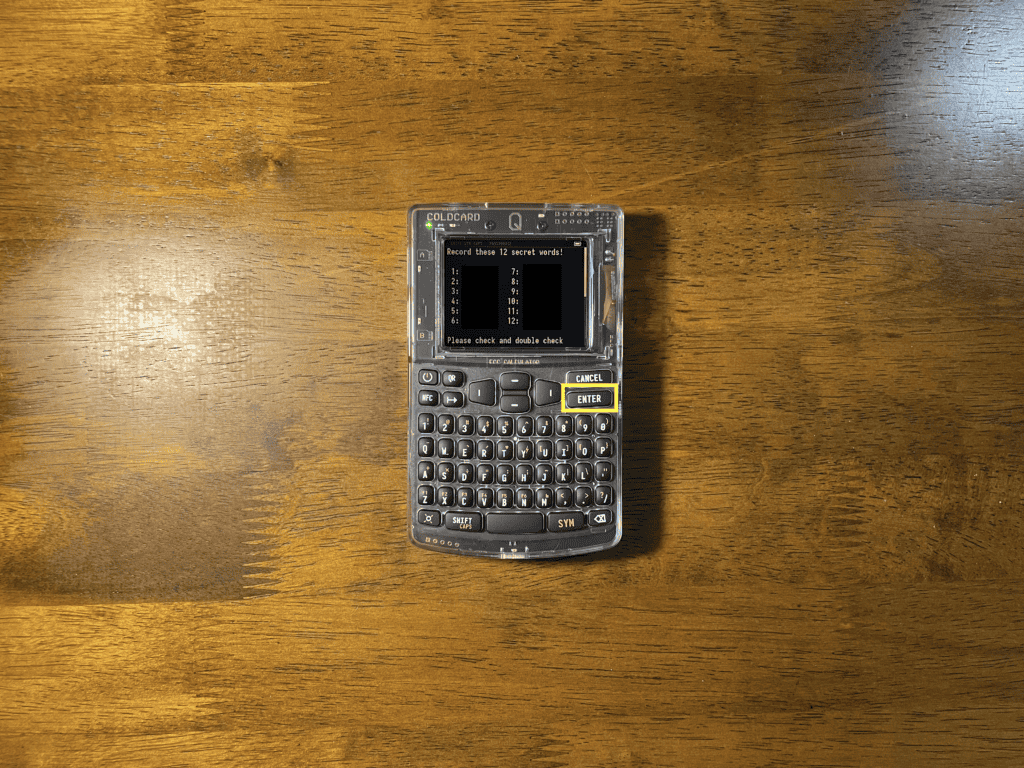
Your wallet will calculate and present the seed words to you please go ahead and write them down on your wallet backup card. Seed words are extremely important as they are your back up to access your Bitcoin if you have a hardware failure, or if your wallet gets lost, stolen or damaged due to water, fire etc. It is recomended that you back this words on steel to make it fire/flood/rust etc. proof.
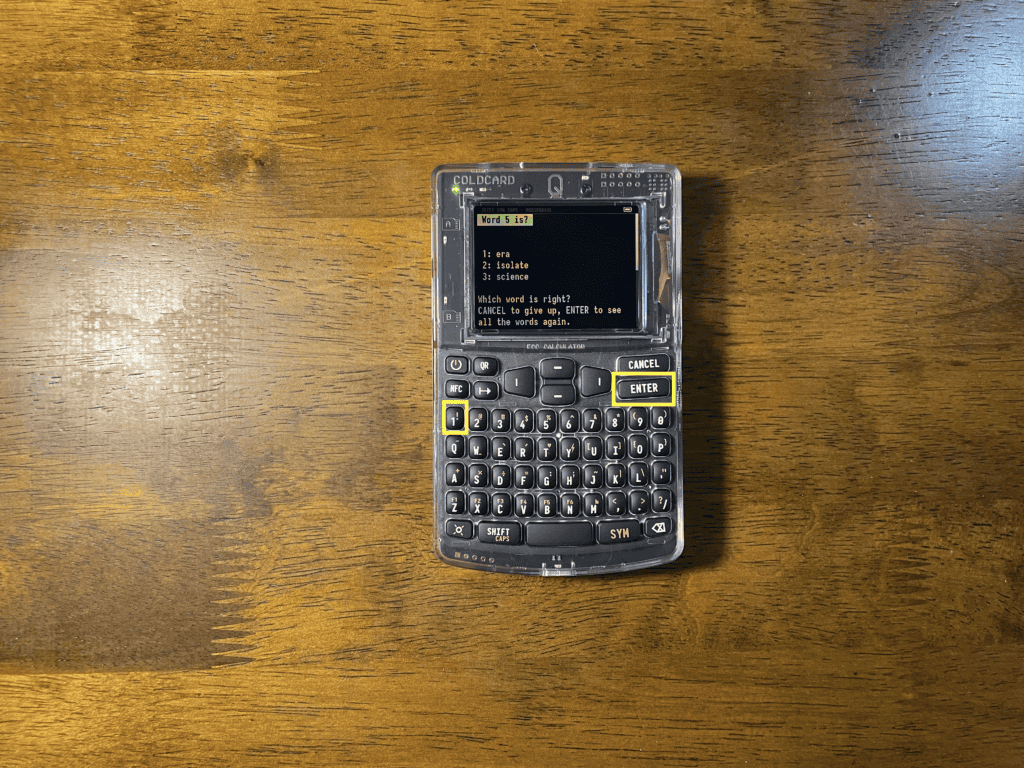
Through the next several screens you will need to verify the seed words to ensure that you have recorded them correctly, you will need to select the number for the word that corresponds to the word being requested and hit ENTER to move to the next.
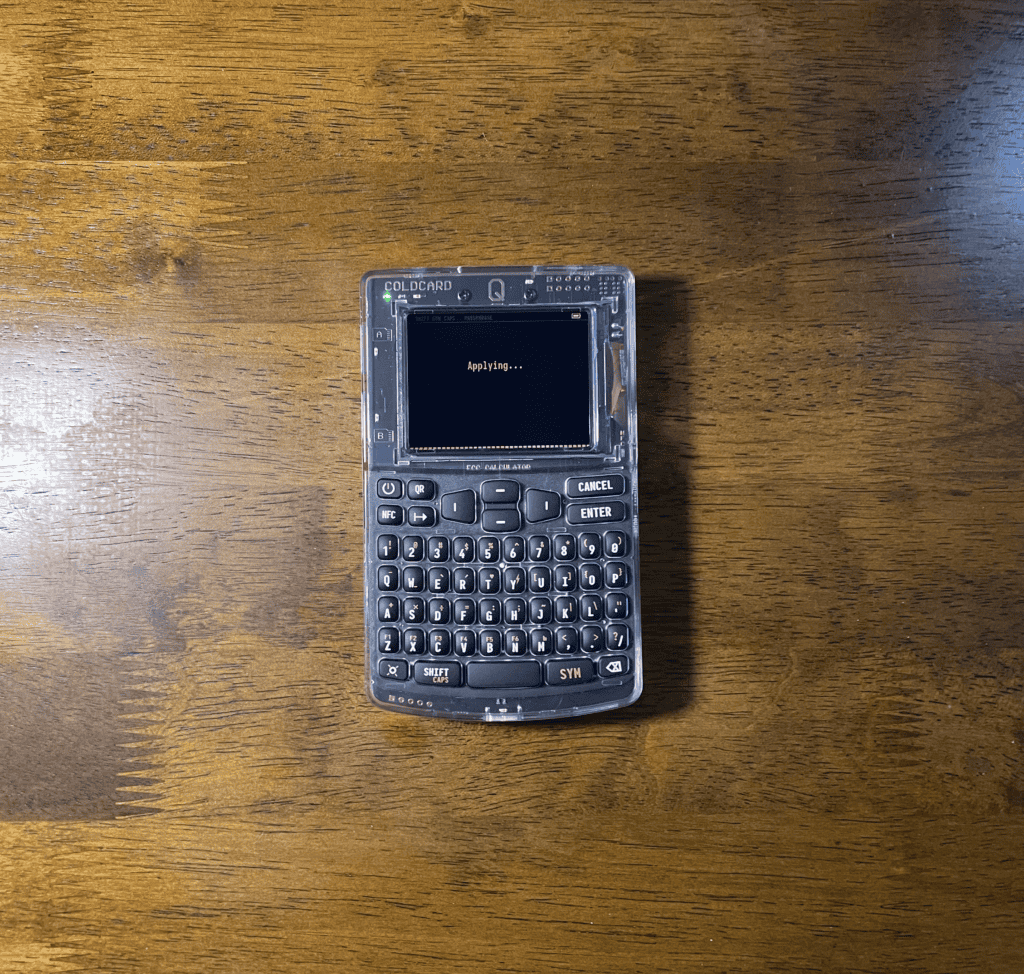
Once you have verified your seed words your Q will apply those and your wallet will be finally created.
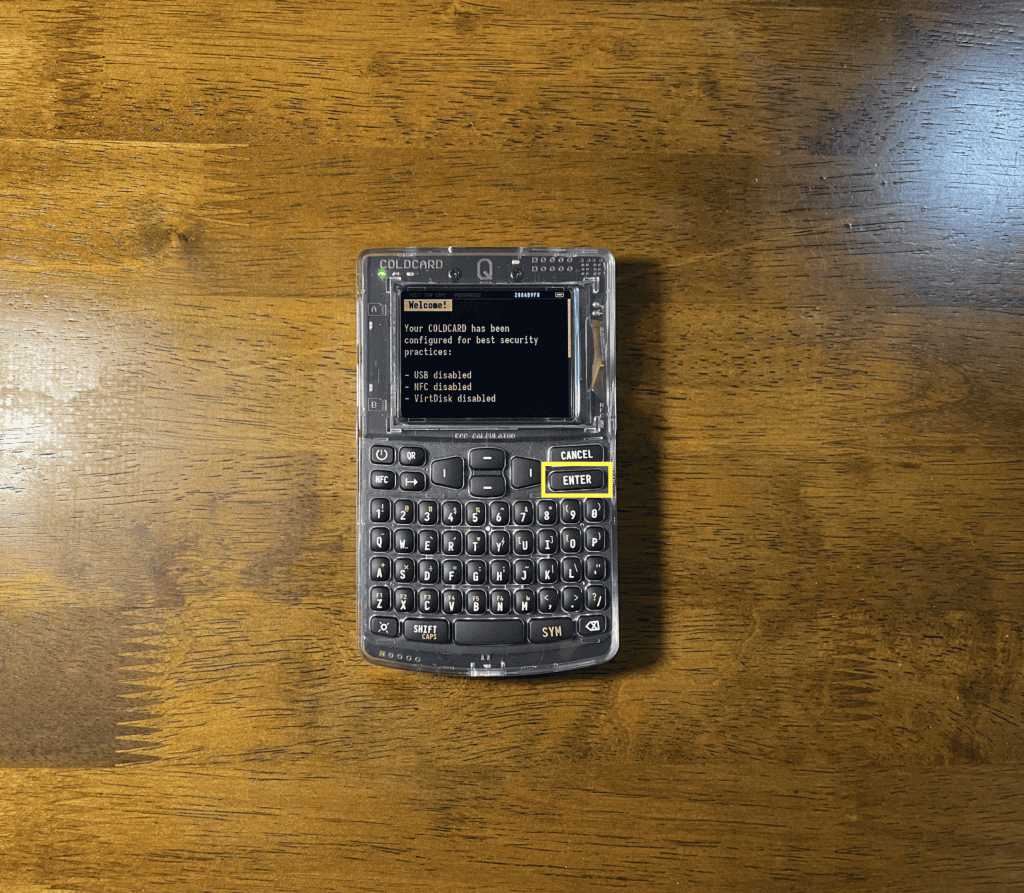
Once your seed words have been applied your Q has been setup and it is ready to start being used in conjunction with hardware wallets to safeguard your Bitcoin. By default USB/NFC/VirtDisk are disabled but these could be anabled on the setting menu based on your needs.
With this your Q is now ready to use and create new wallets with.

With this we have concluded this setup guide on following posts we will use the Q to create wallets using software wallets like Sparrow etc.
Thank you for giving your time to this post and hope that it has been useful to you and that it may have provided value, if it has please share it with friend and family and if you feel so incline drop me a few sats it is greatly appreciated.
As always if you see anything that I may have messed up and got wrong please feel free to point it out [email protected]