
Welcome back, a few months back (January 2023) I preordered the COLDCARD Q Bitcoin hardware wallet from Coinkite, and I have resently received my order (April 2024) but as always Coinkite delivered this post is a quick one to show what is in the box once you receive it. This post will contain mainly pictures to show “what’s in the box (what you get with your order)”.
At this time I have not setup the COLDCARD Q or even powered it, other than handling it for the pictures you see below I have not done much with it, in the following days to this post will release another with the setup process, creating wallets using Sparrow wallet and other etc.
Packaging:
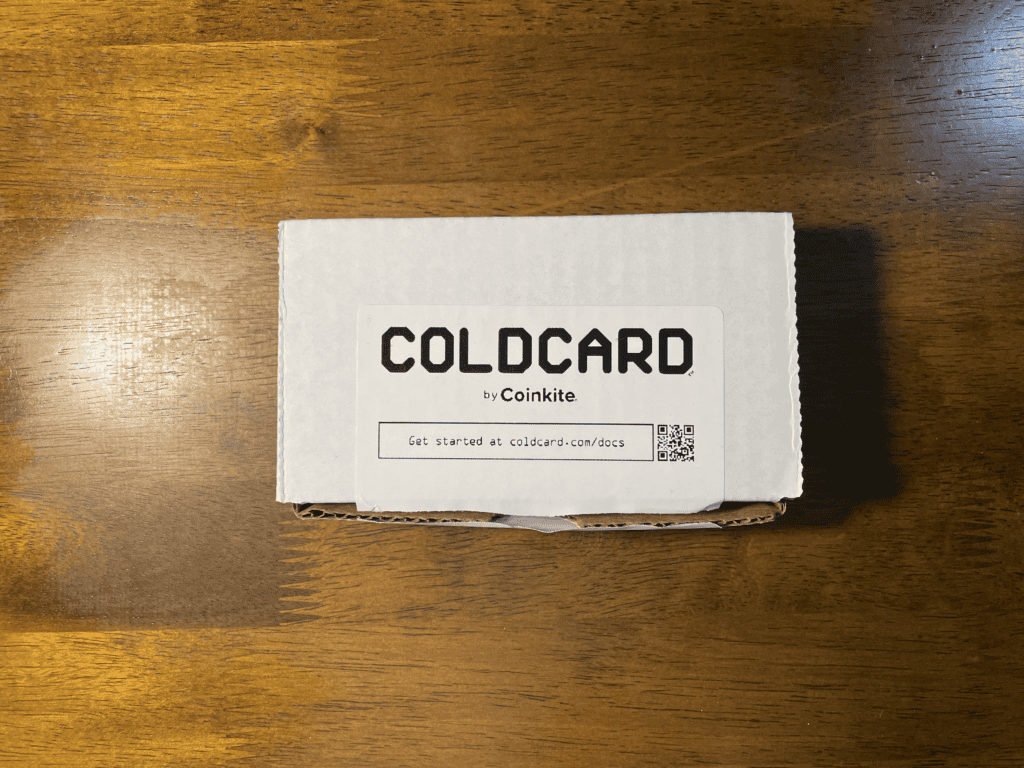
New for me this time around is that the usual Coinkite bag now arrives inside a white box which is sealed with a label, I do not remember this from the MK3 and MK4 but if this is my mistake please go ahead and let me know.
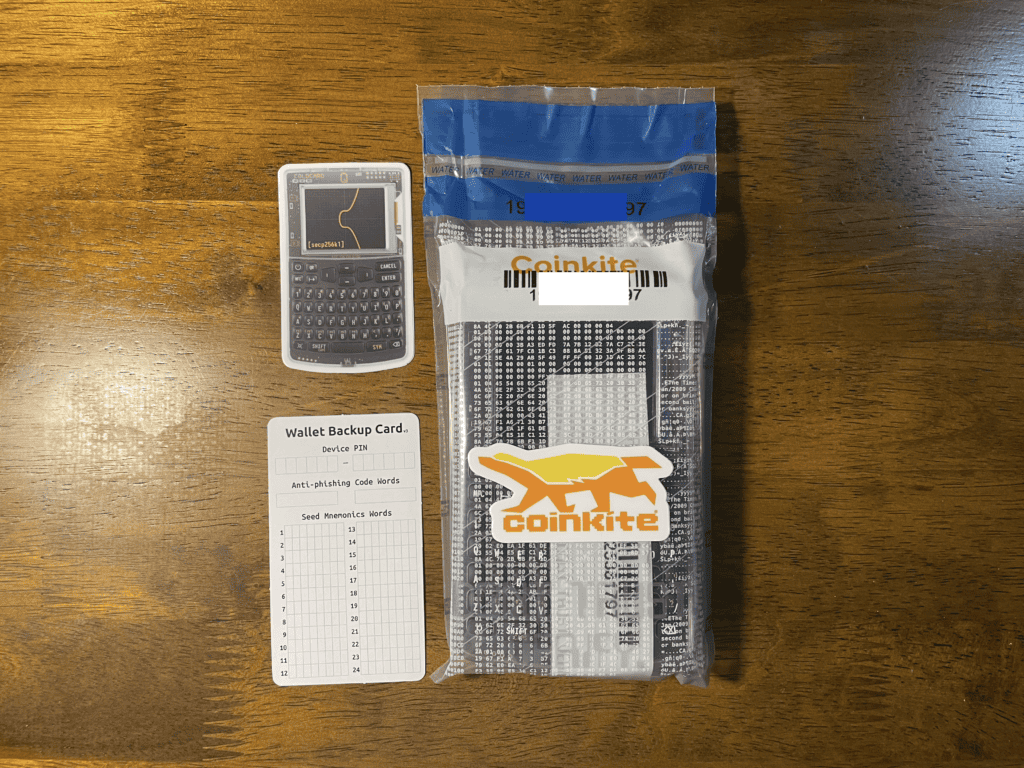
As with all previous packaging that I have been exposed to from Coinkite indie the box mentioned above is a simple transparent plastic bag with some print on it including some of the messages from the block chain, important features of the bag includes:
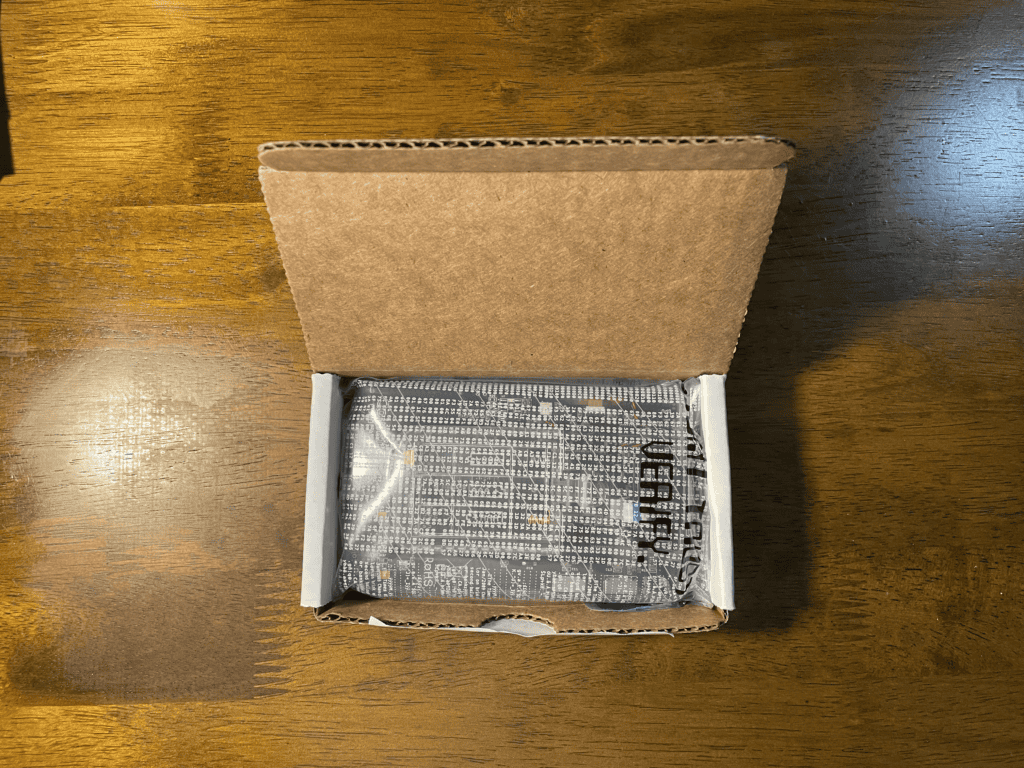
- New thing that I don’t remember noticing before is that there is a box and inside is the normal tamper proof bag (please correct me if this was aleays there and I just dont remember).
- The bag number, same bag number you get under the barcode you get printed on the top blue part of the bag and also you get the top piece of the bag inside when your COLDCARD Q is packed as a verification that no tampering has occurred. This bag number has been recorded into the memory of the cold card you receive.
- Additionally the bag is seamless on the bottom if you receive a bag that has a seam on the bottom side your bag has been tampered with and if the top part gets pulled apart it would display a “VOID OPENED water mark” type indication showing that the bag as been previously open.
Inside the box you will find the usual Coinkite tamper proof bag.
Inside the box you will find a couple of stickers and one wallet backup card and of course the Q.
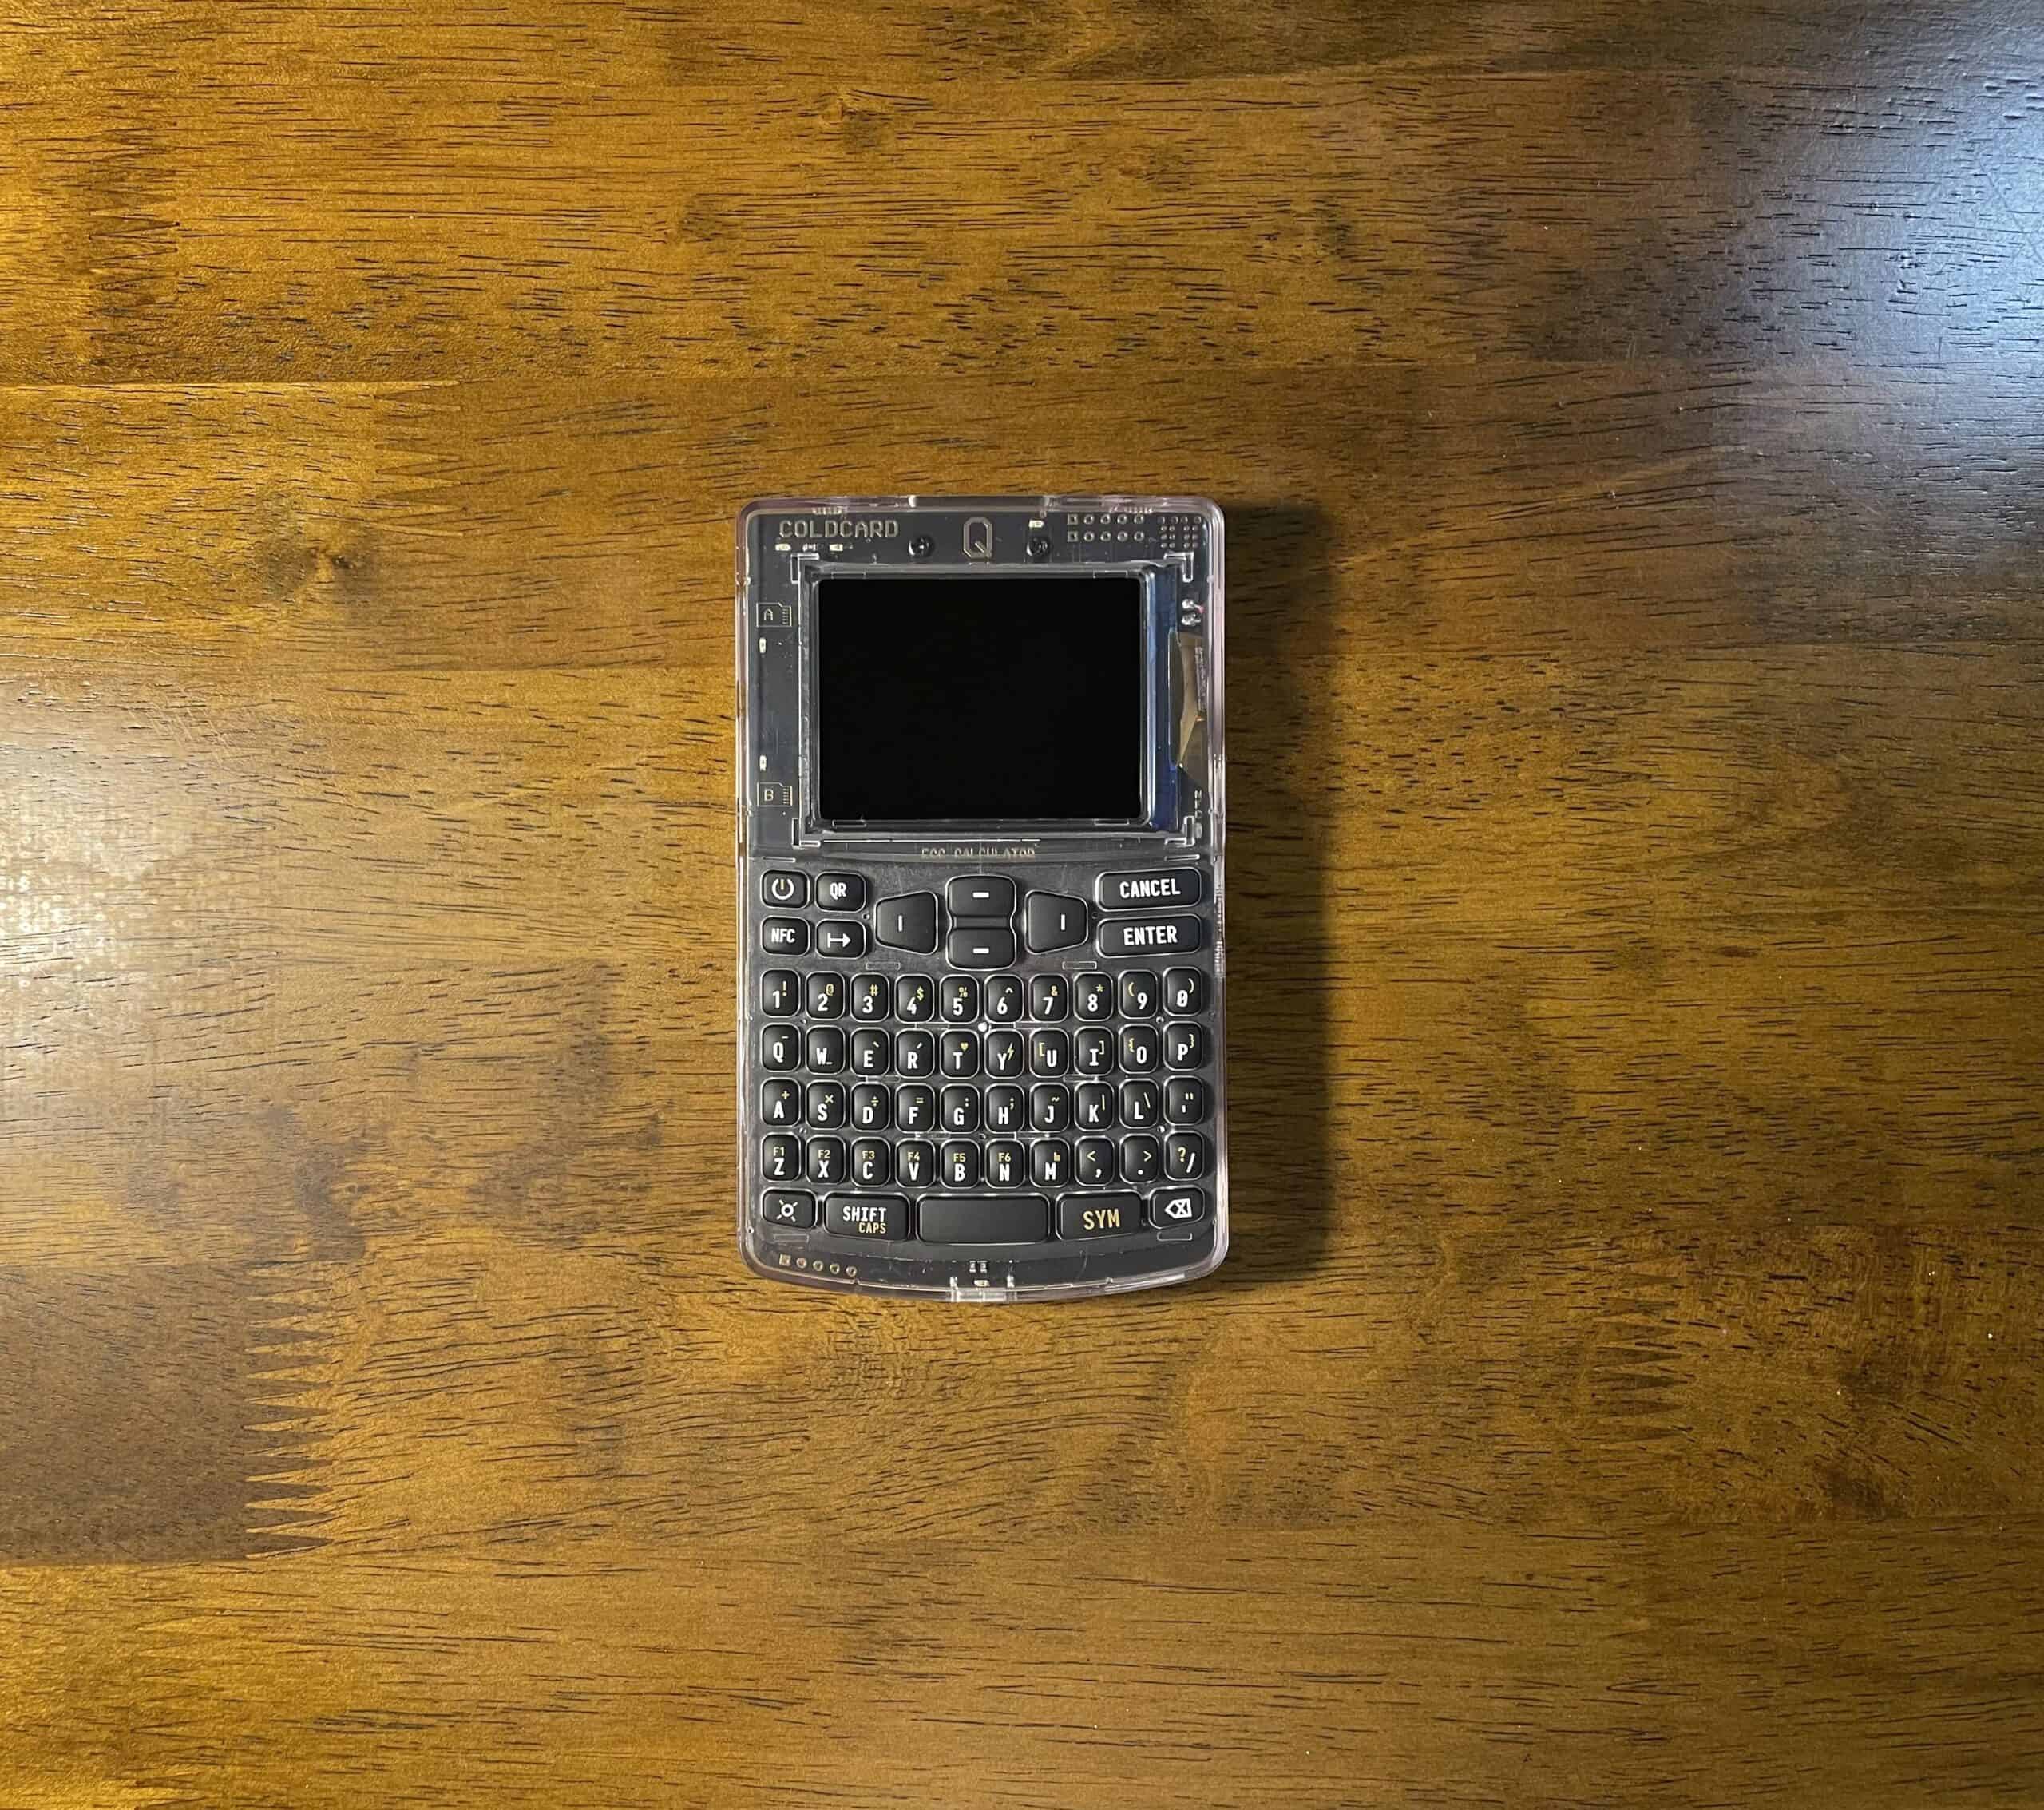
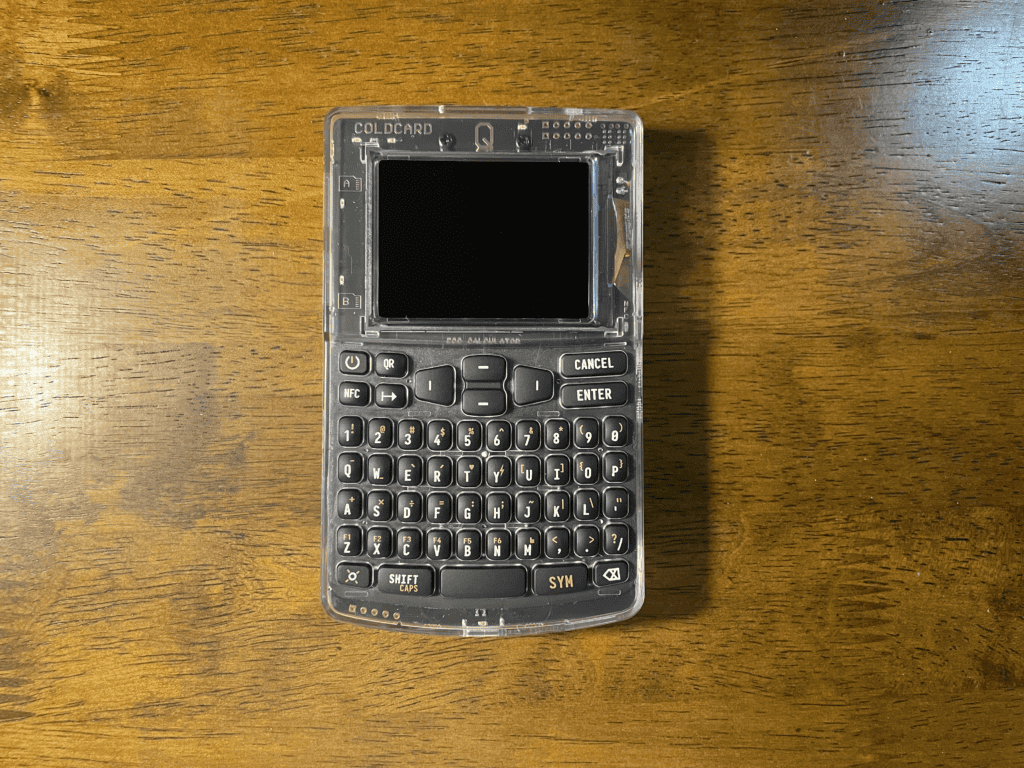
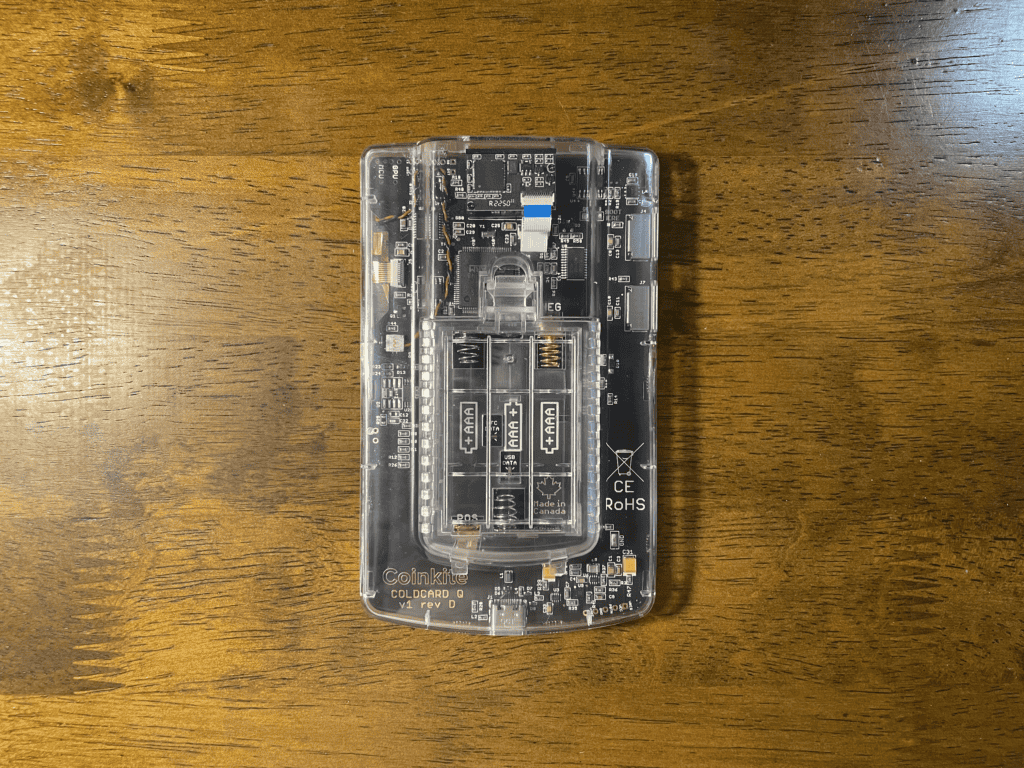
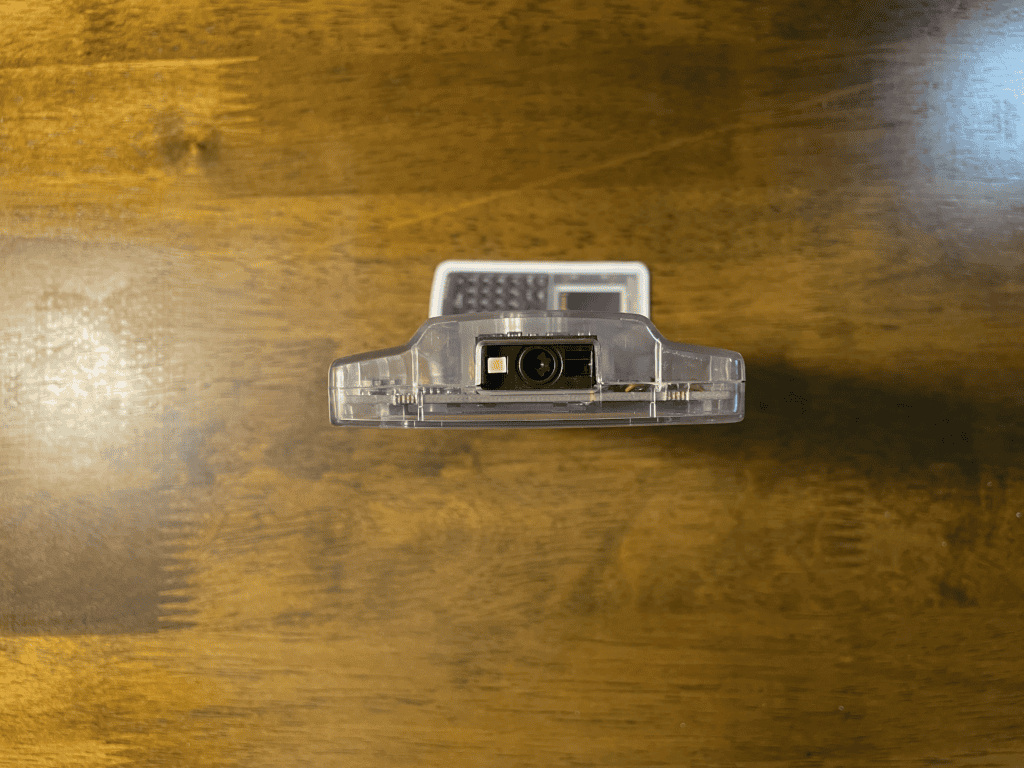
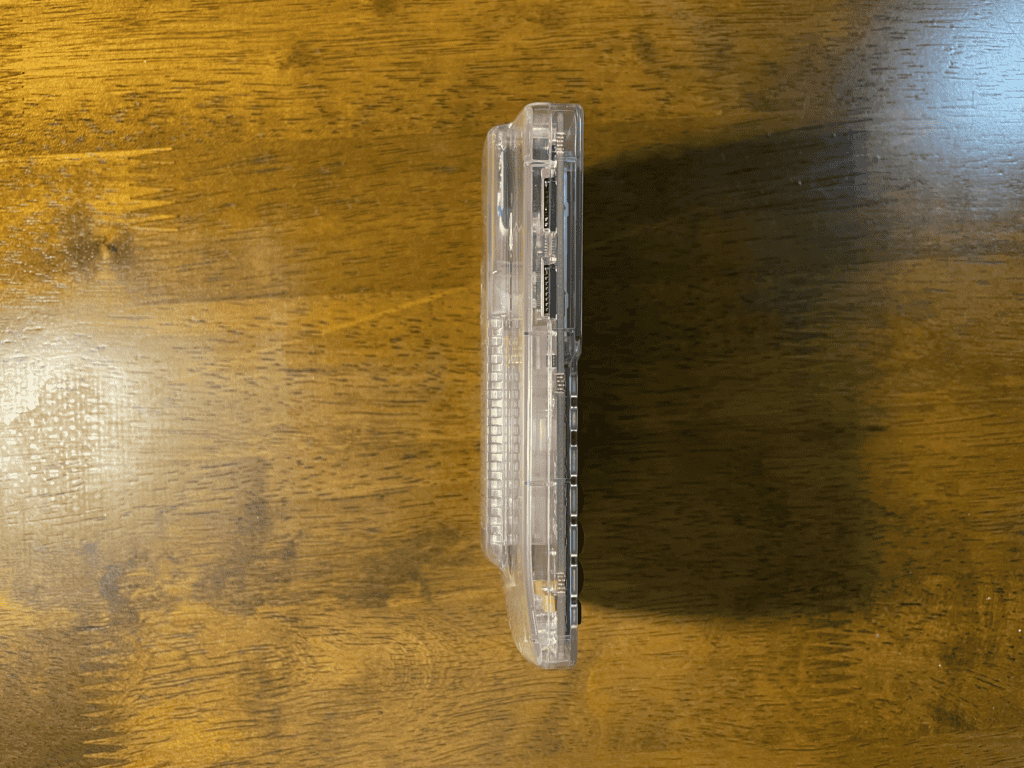
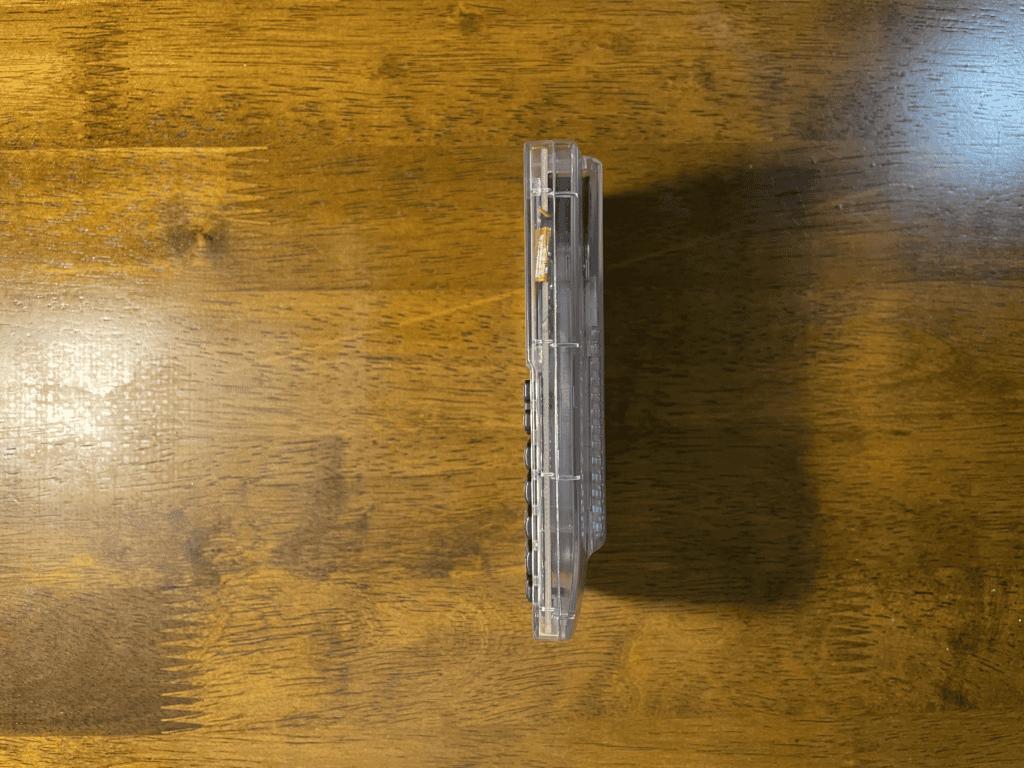
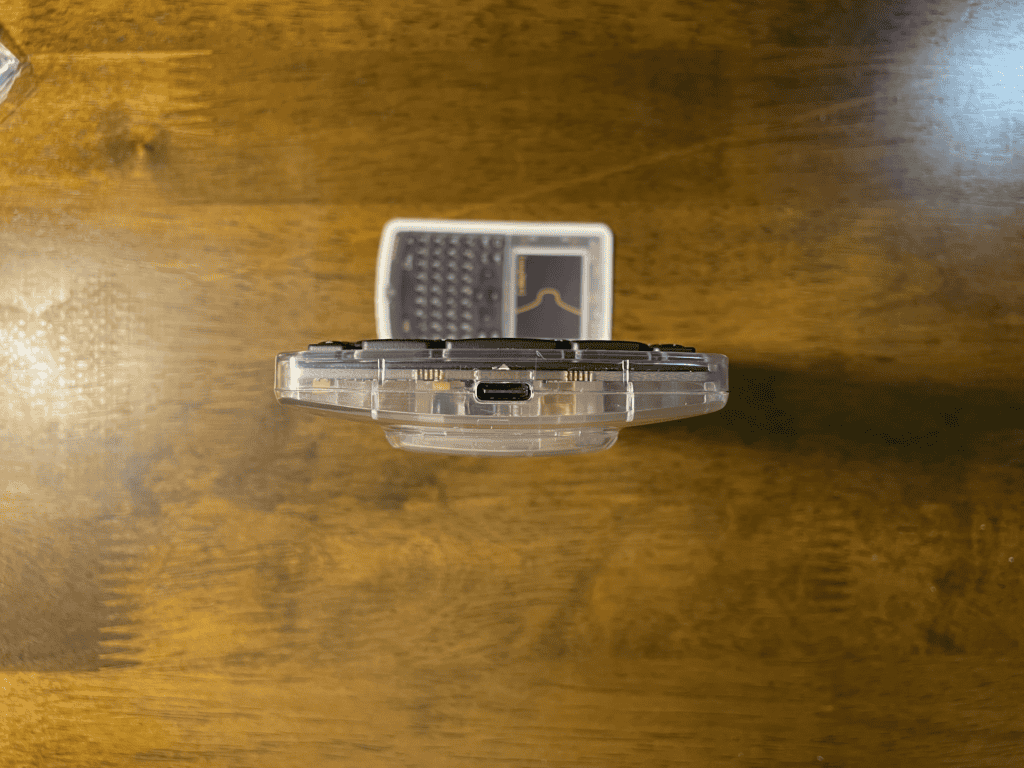
Below are pictures of the COLDCARD Q from all angles:
And this is all for this one, I will continue next hopefully soon we will cover the initial setup of the COLDCARD Q.
Thank you for giving your time to this post and hope that it has been useful to you and that it may have provided value, if it has please share it with friend and family and if you feel so incline drop me a few sats it is greatly appreciated.
As always if you see anything that I may have messed up and got wrong please feel free to point it out [email protected]