Wasabi Wallet is a non-custodial wallet this means that you hold the keys to your Bitcoin, it is also privacy focused and open source, this wallet has by default been set to coinjoin your Bitcoin in order to improve on your privacy by mixing your coin with that of other users.
This post will be one of a series planned to cover installing and setting up the wallet, creating wallets, using hardware wallets, etc. Below we will cover the installation and setup of the wallet and a bit of familiarization with the main wallet window.
Let’s get started
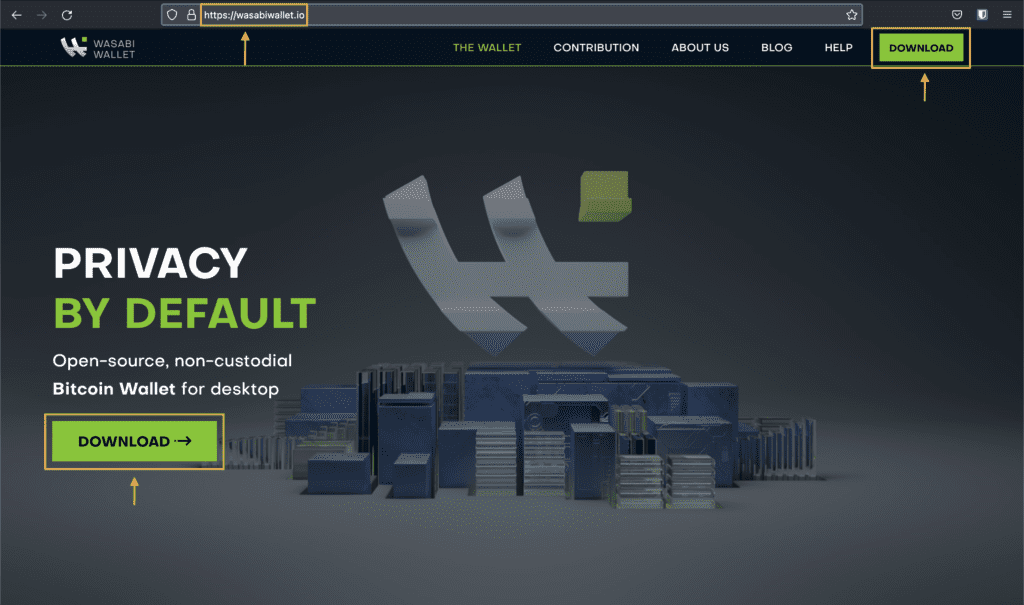
First thing we need to do go to wasabiwallet.io once there click on the “DOWNLOAD” button located on the right upper corner or about half way on the left side of the page.
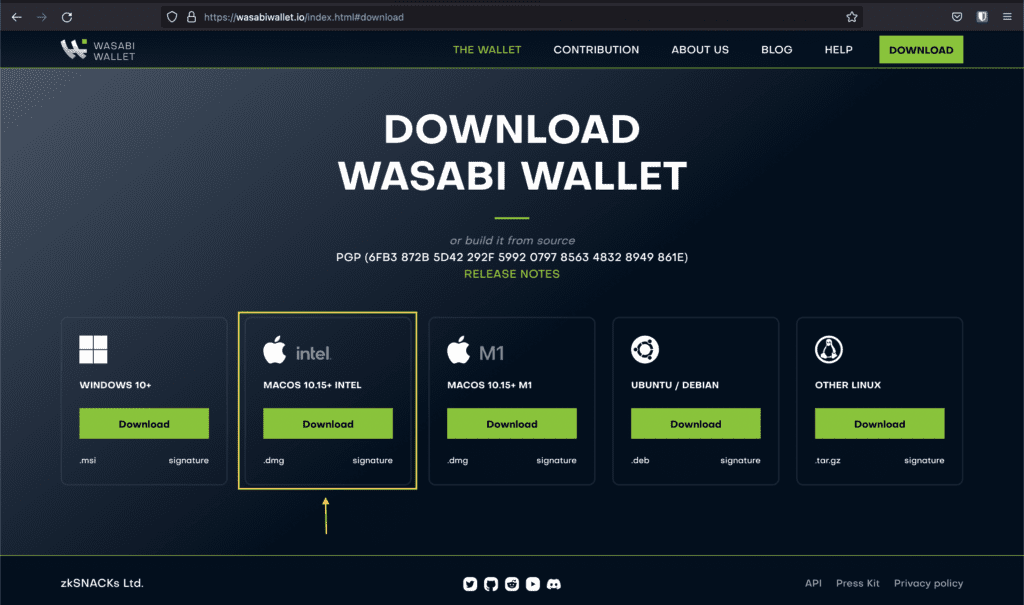
On the download page select the correct download for your operating system. In my case I selected Intel Mac.
After clicking the download button for your operating system a new window should open and your file download should start automatically, once the download finishes double click the file to start installation.
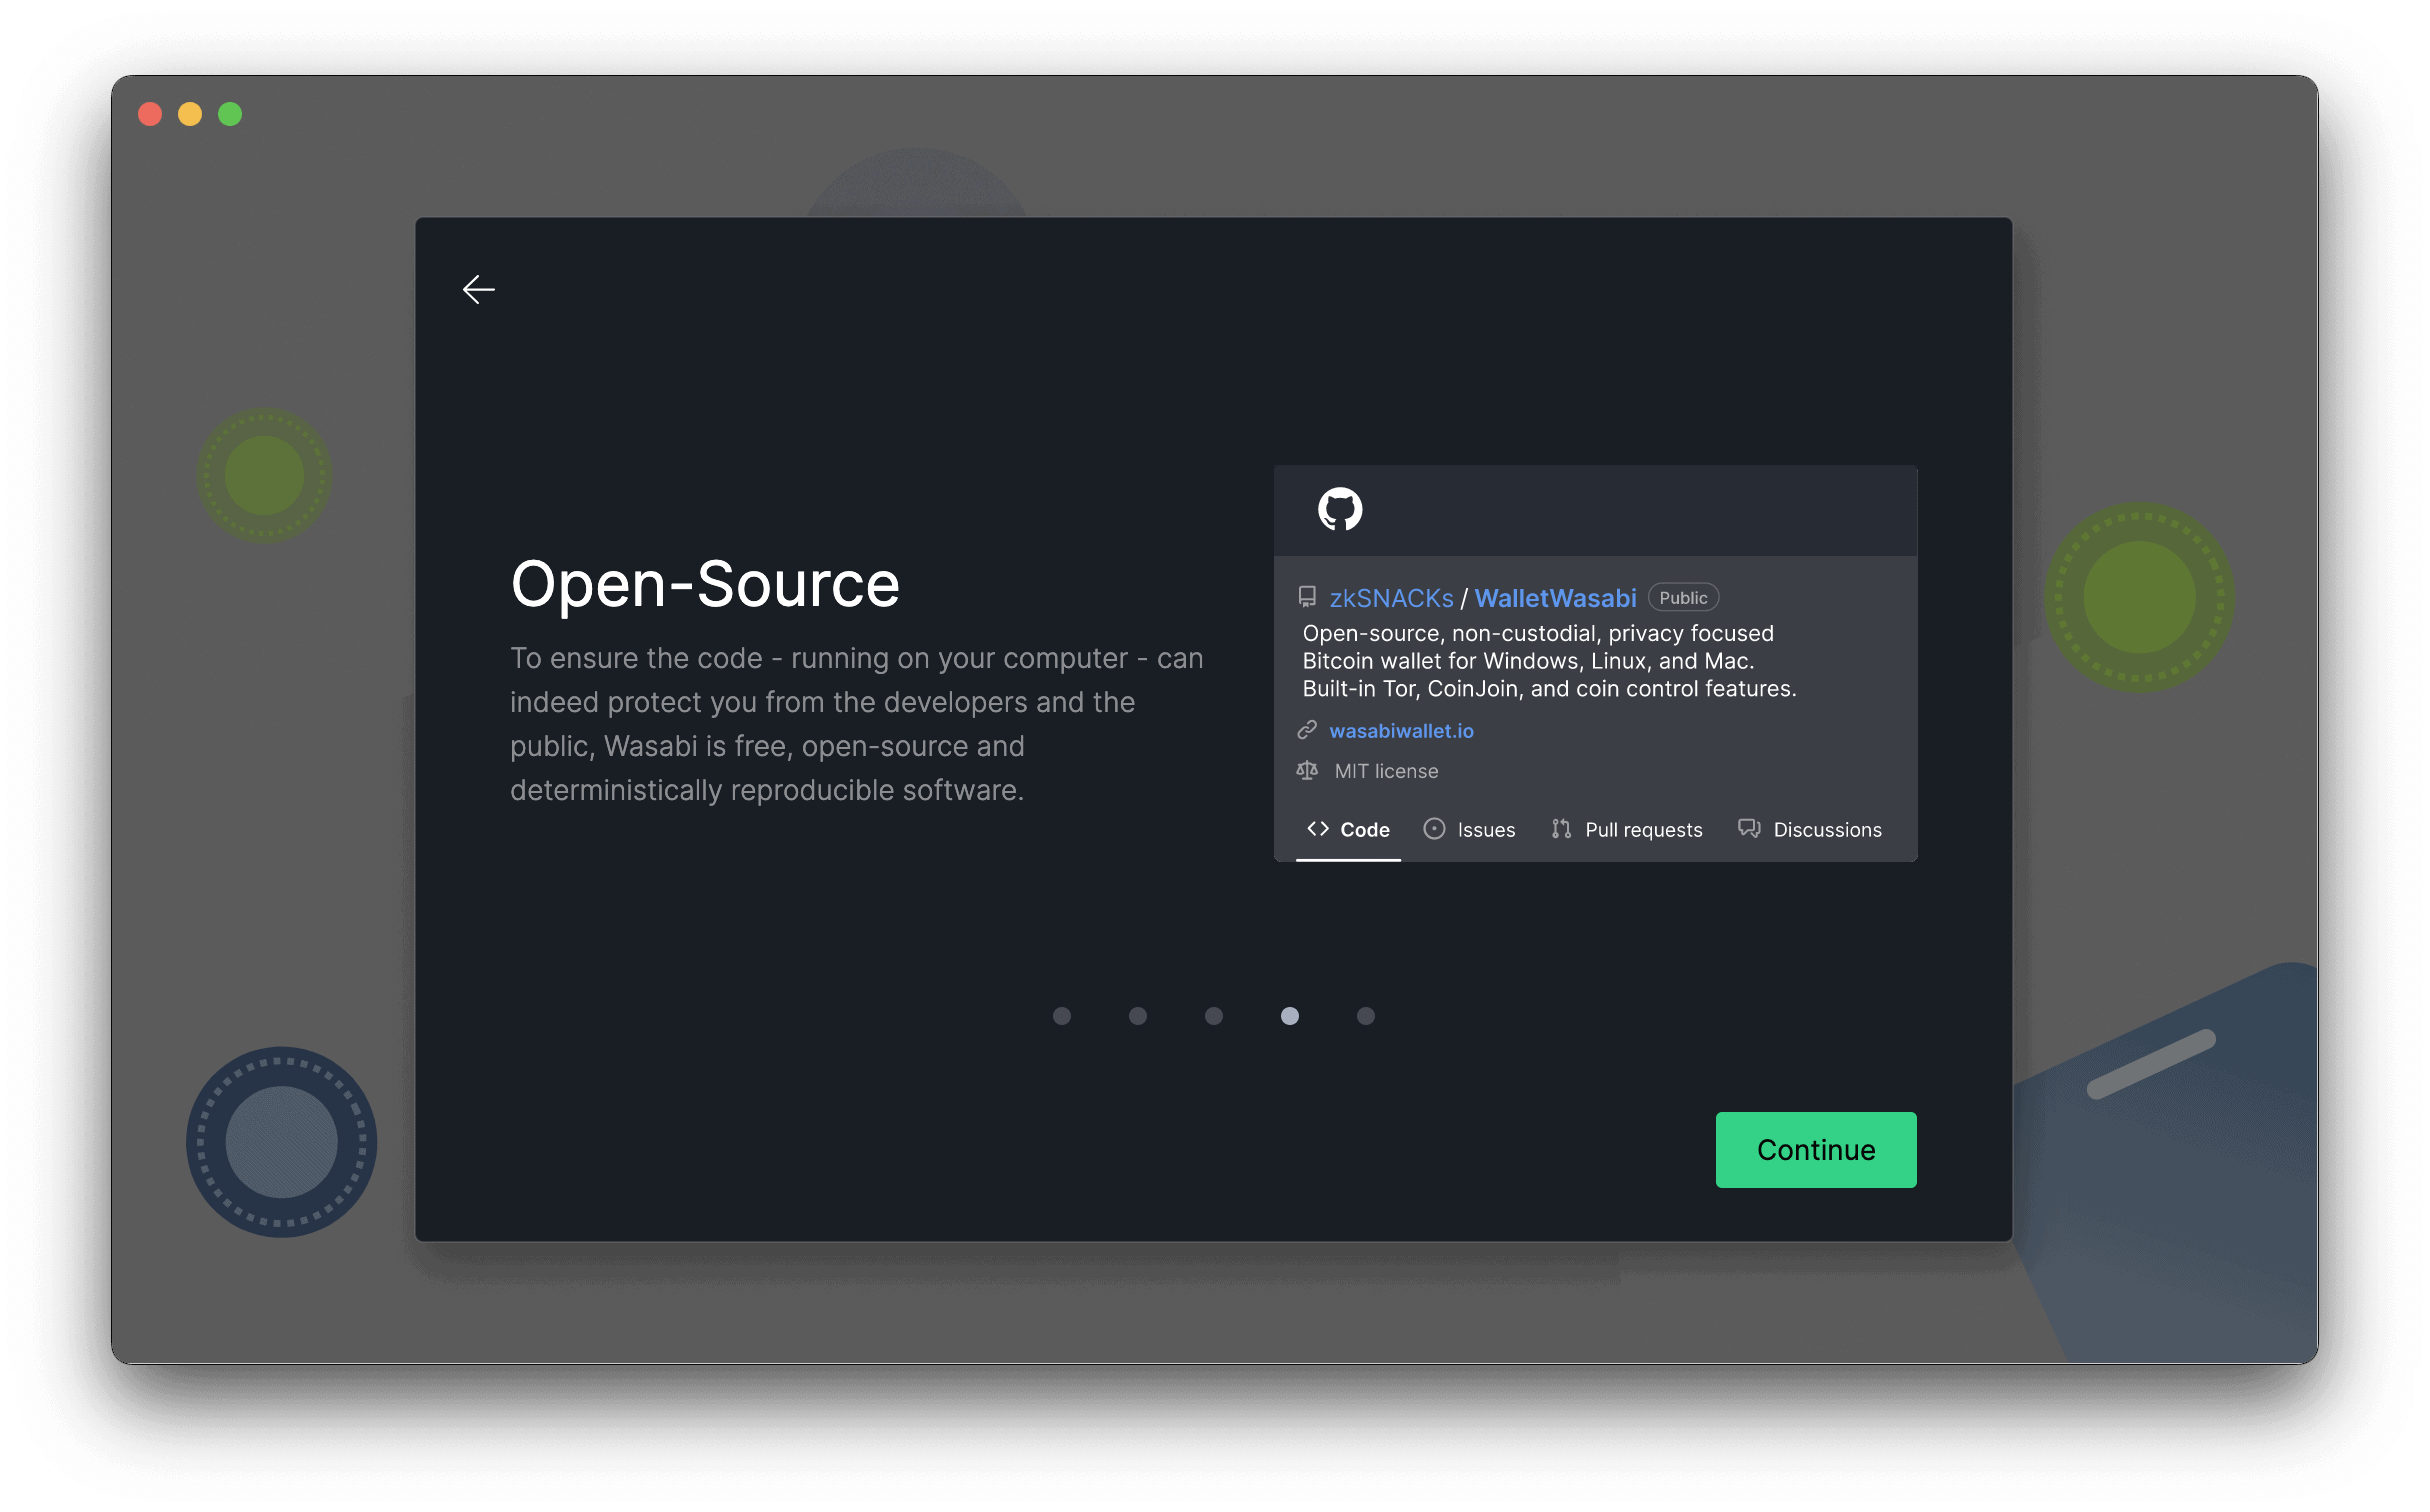
Once installation has been completed click on the wasabi wallet application icon in order to start the wallet and its setup. Click through the pages read the info to get a little familiar with reasons why using Wasabi on the last slide click “Get Started”

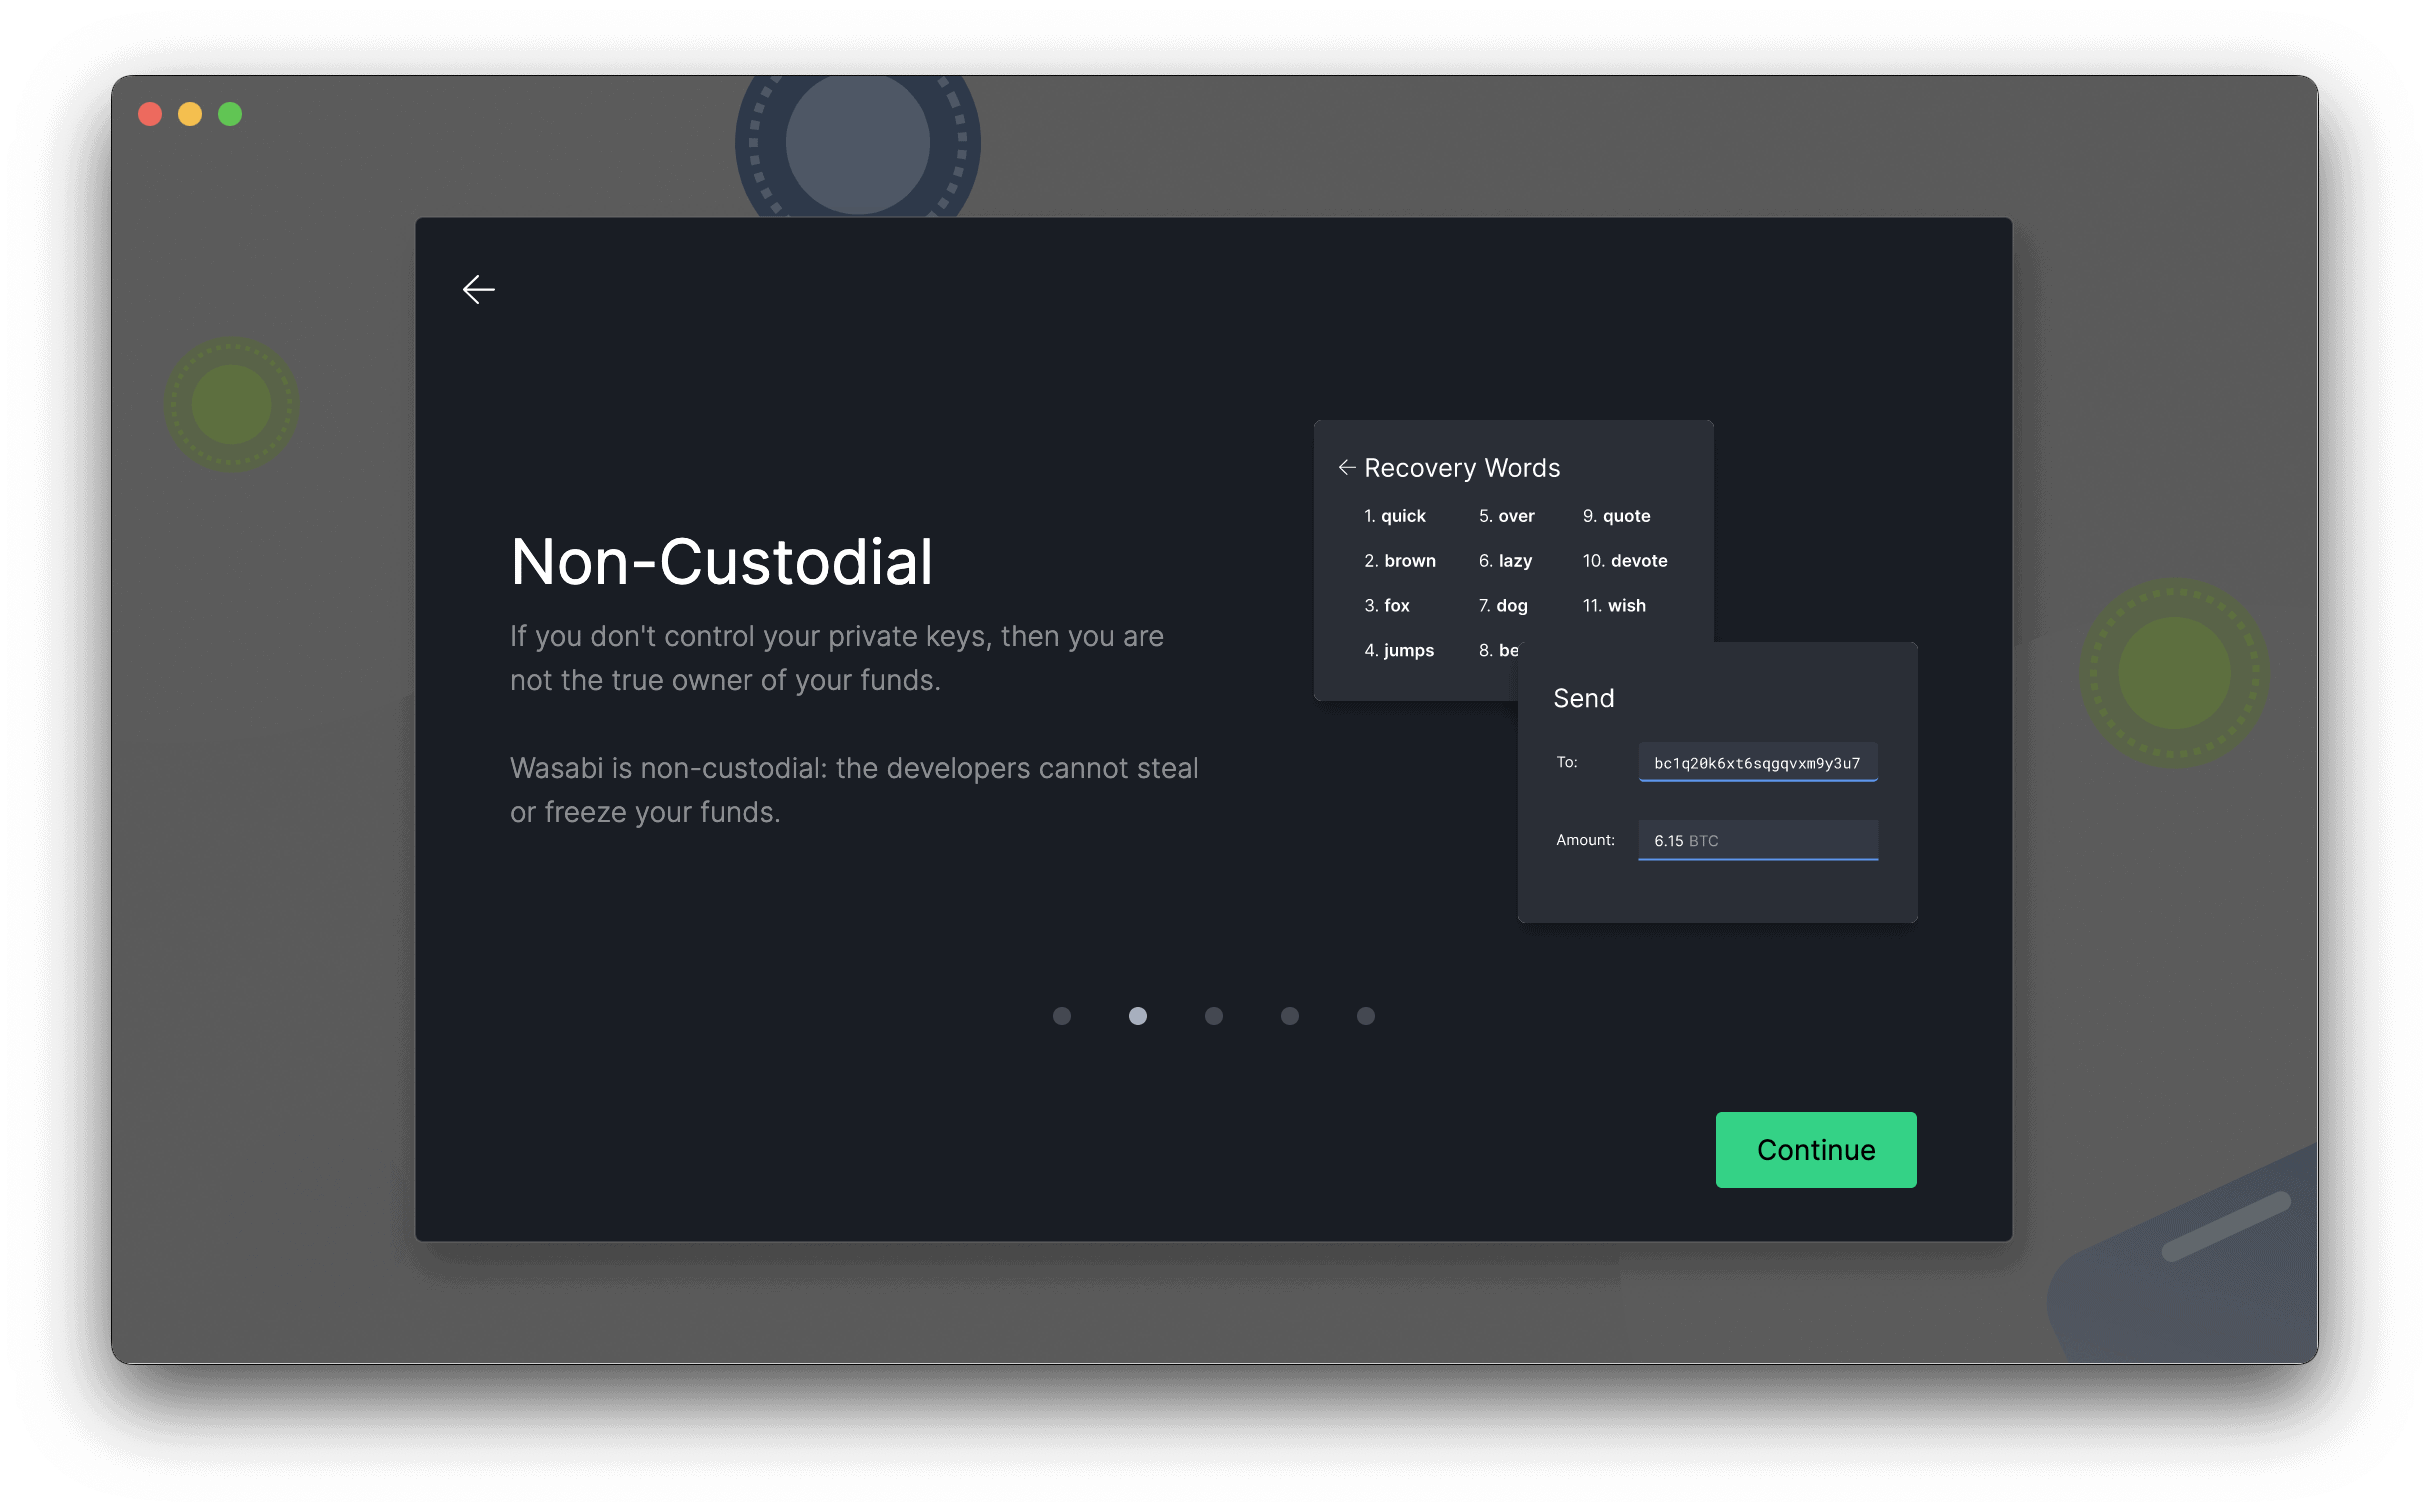
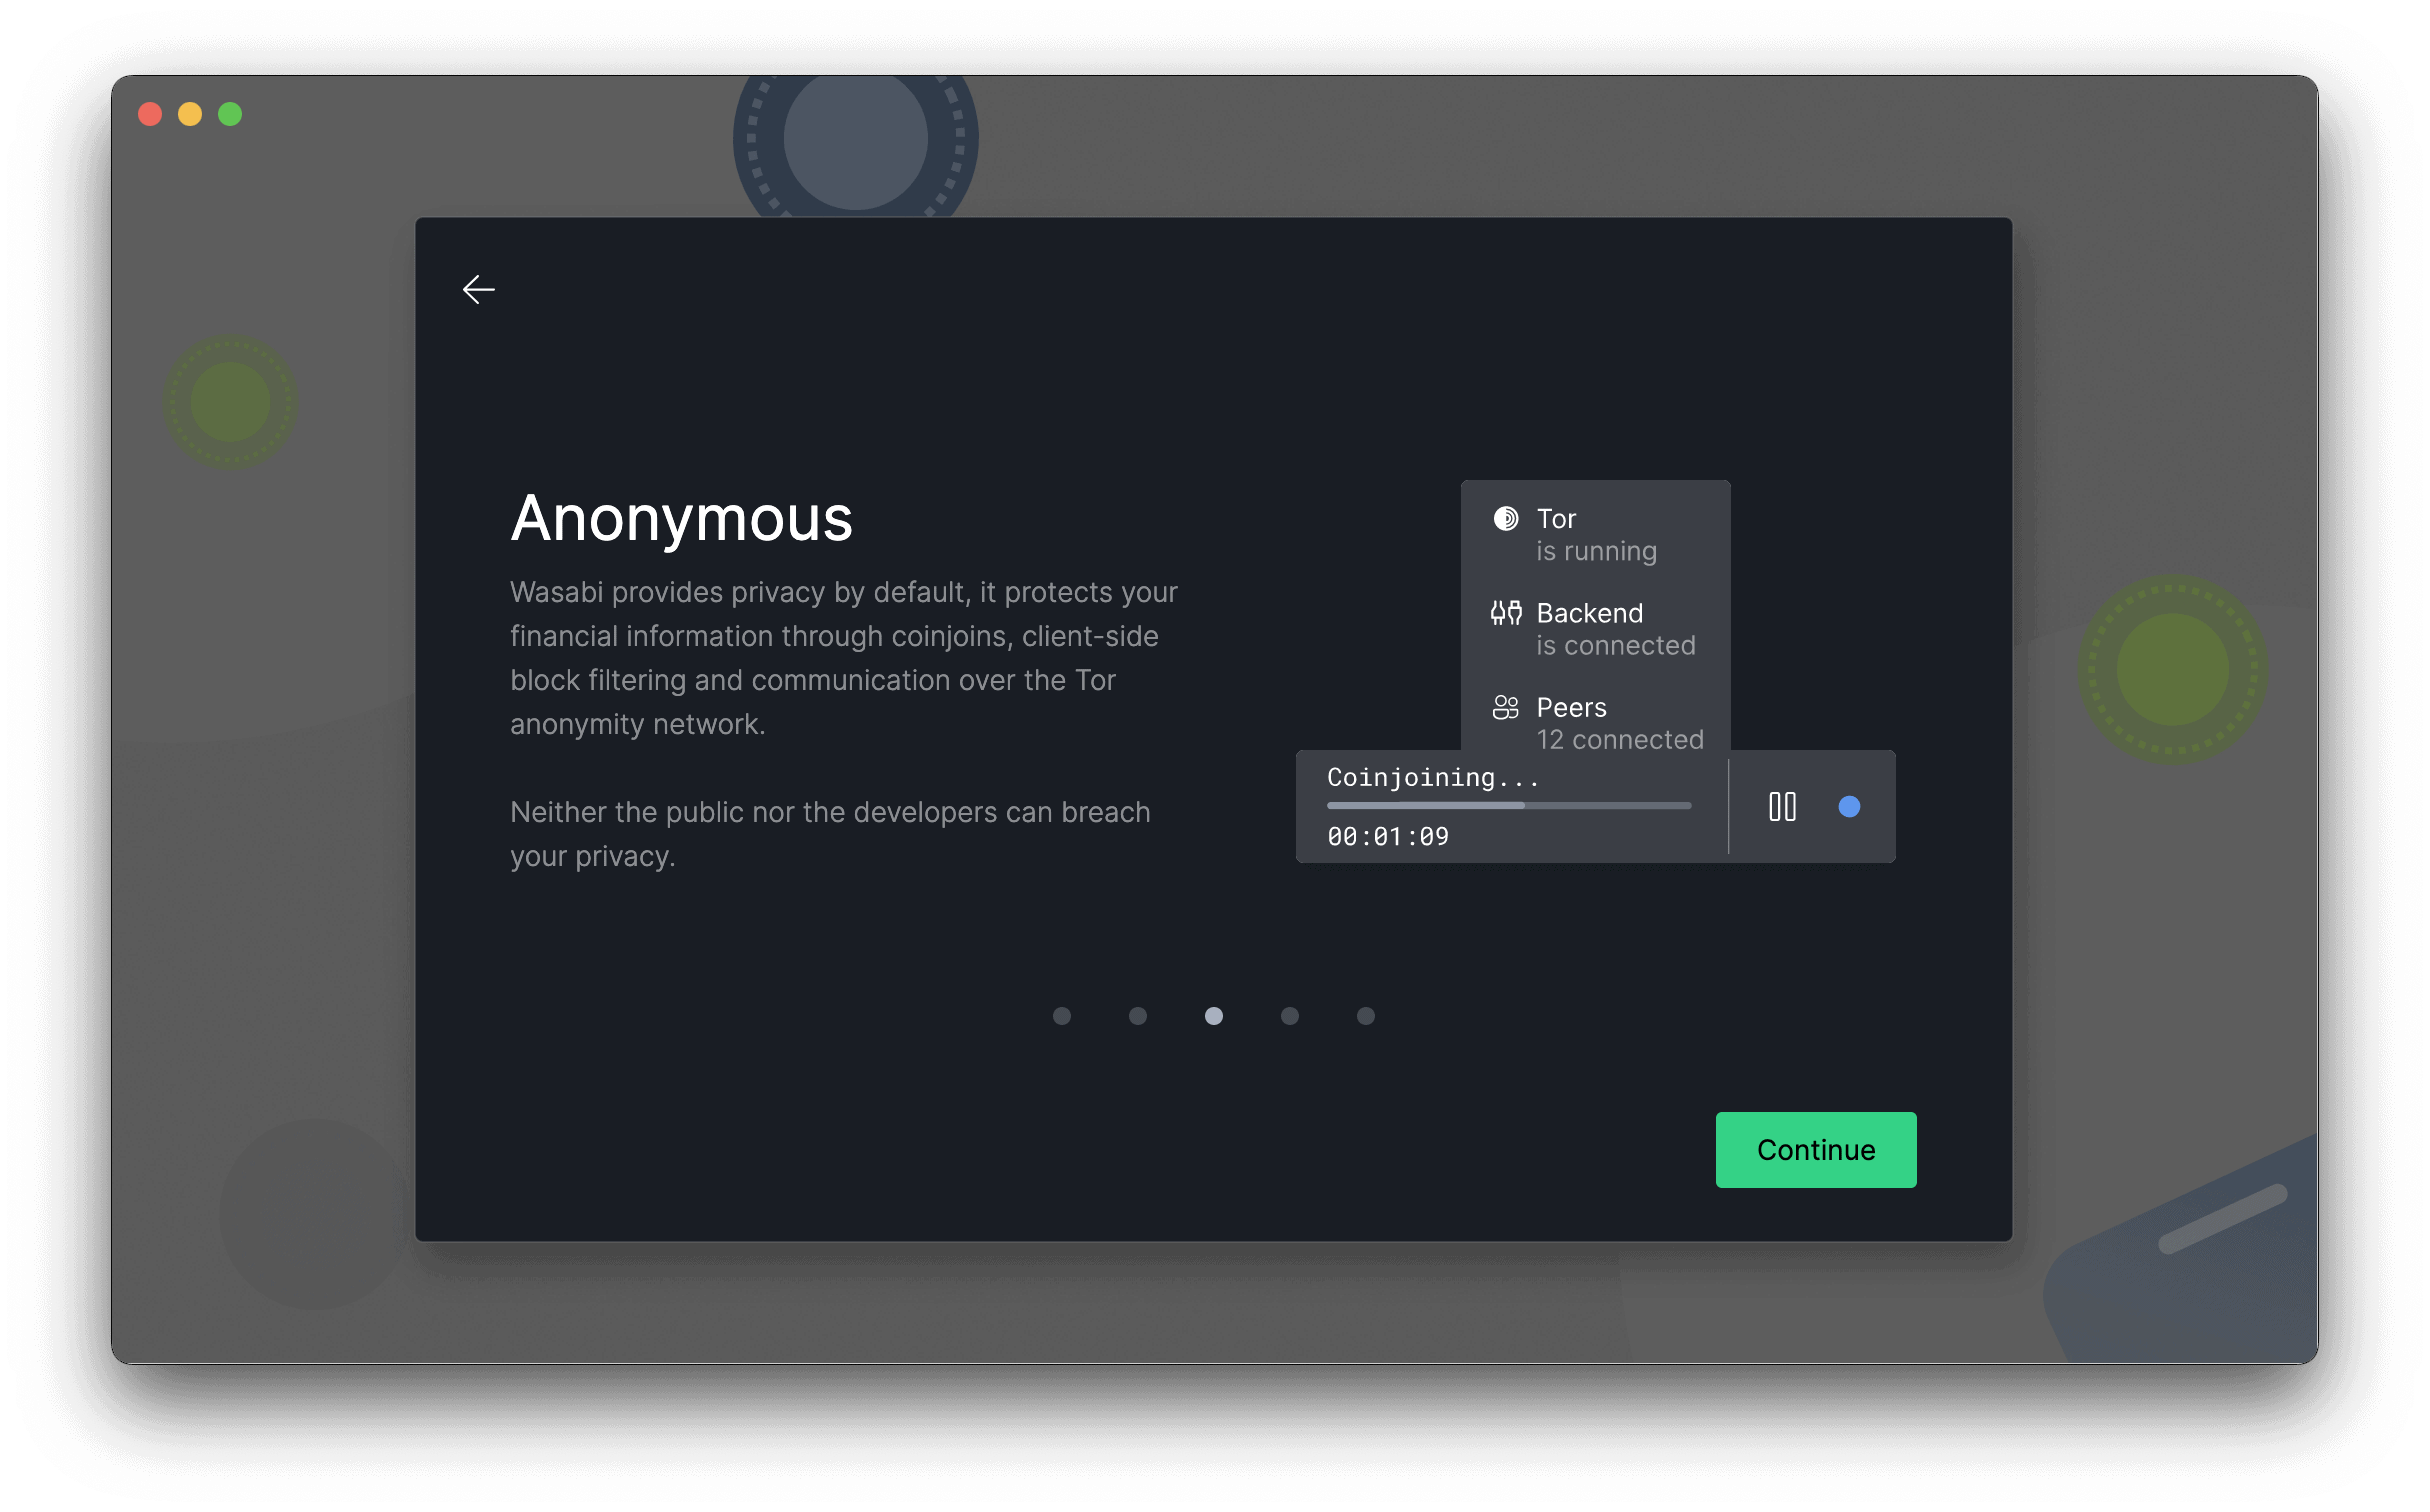
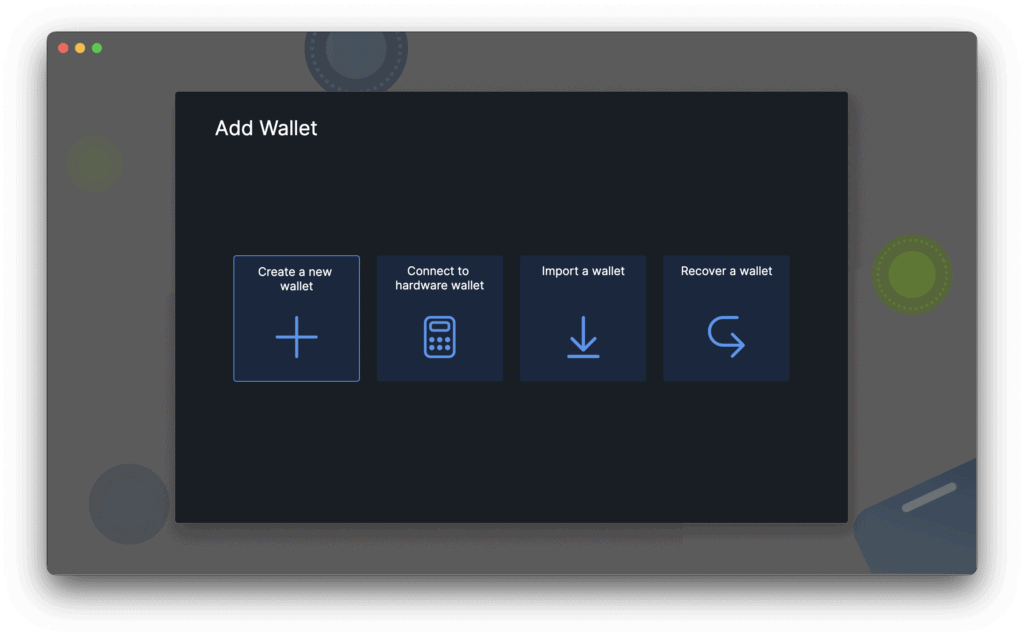
After clicking on “Get Started” we will be presented with the “Add Wallet” window from this window we can create new wallets, connect hardware wallet devices, import wallets or recover a wallet, on this post we will cover the creation of a new wallet.
- To create a new wallet click the “Create a new wallet +” button.
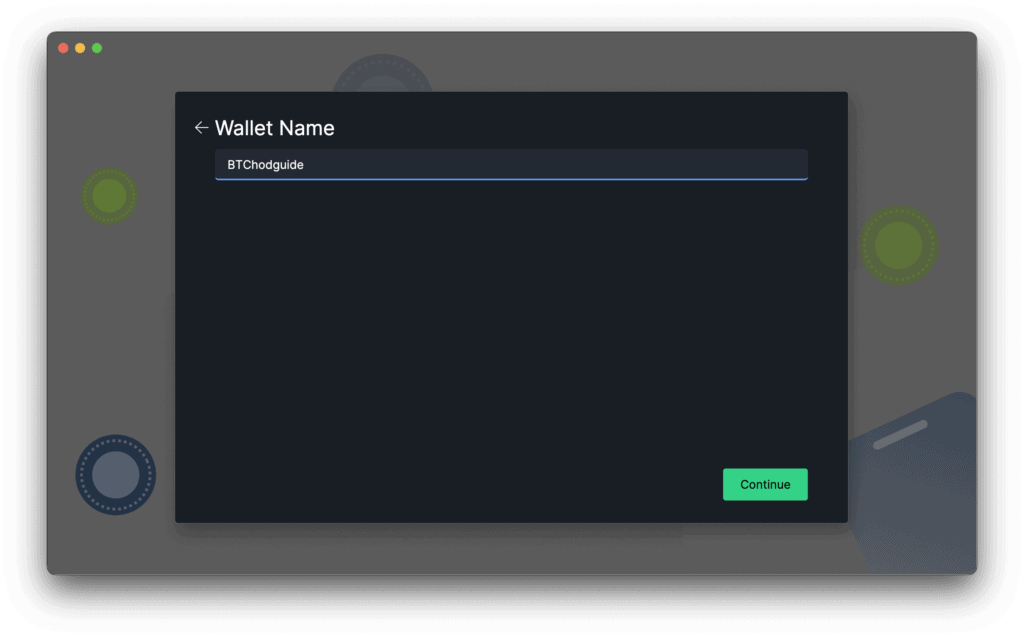
2. Clicking the “Create a new wallet” button will open a “Wallet Name” window where we will need to enter the name for our wallet, after entering the name for our wallet we will need to click the “Continue” button.
3. After naming our wallet and clicking “Continue” a new “Recovery Words” window will open for us this is a very important window, the twelve words presented to us is the recovery seed these are very important and if we ever lost access to this wallet we can use these twelve words to recover our coins using any other compatible wallet.
We should write these words down in the correct sequence, clearly and keep them private and in a safe place as any one with access will have access to your coins. After writing our recovery words down click “Continue”.
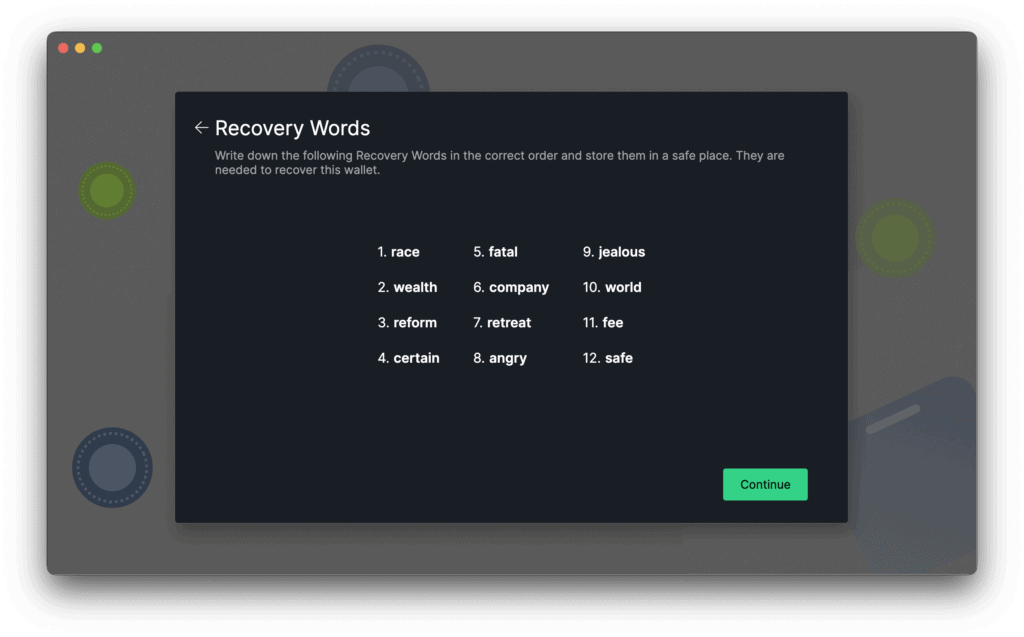
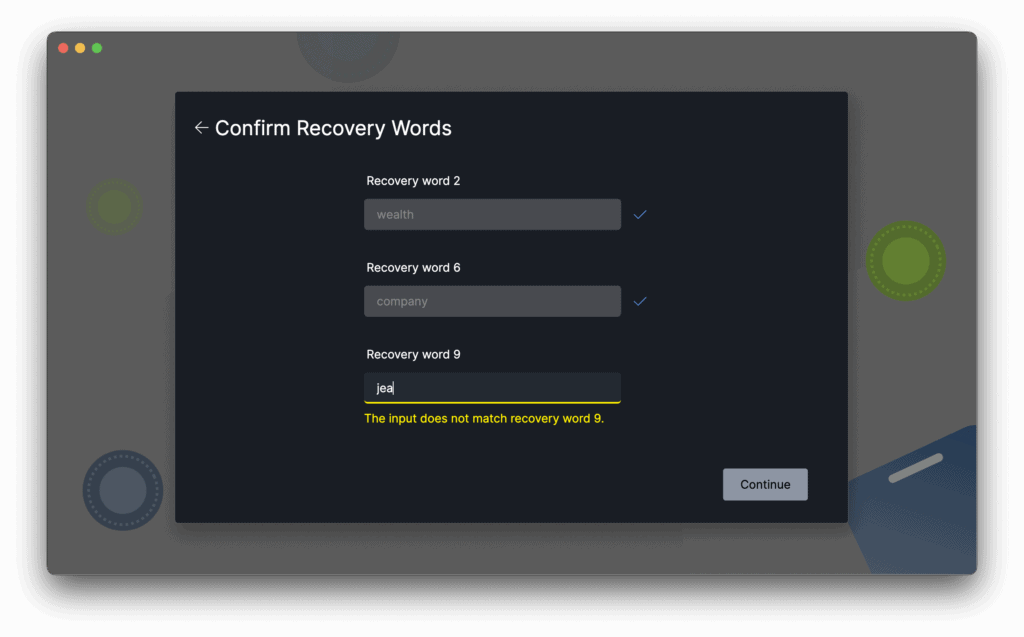
4. On the next window we will need to verify three of these words at random in order to verify that we have written them down correctly.
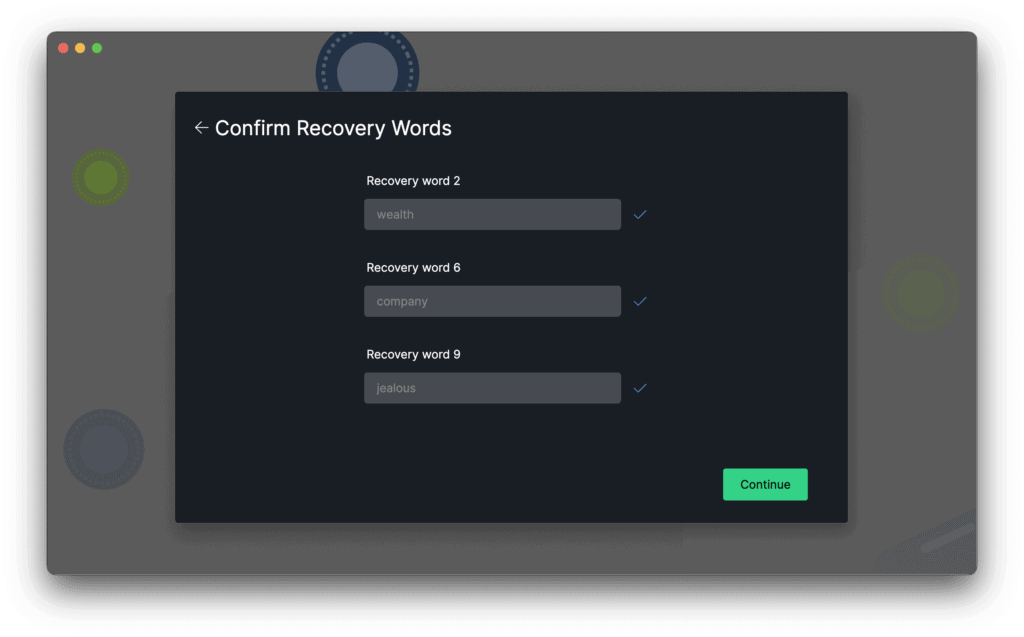
Once we enter the correct words down we should see the word turn green and a check mark to the right of the box, if we enter the incorrect word there would be a warning below the box indicating so, once all words are entered correctly we will get all green words, three check marks and the “Continue” button will highlight and allow us to click continue.
If we can not complete the words we will not be allowed to proceed if needed we can click the back arrow next to “Confirm Recovery Words” this would take us back to the previous screen where we can verify the words and their sequence.
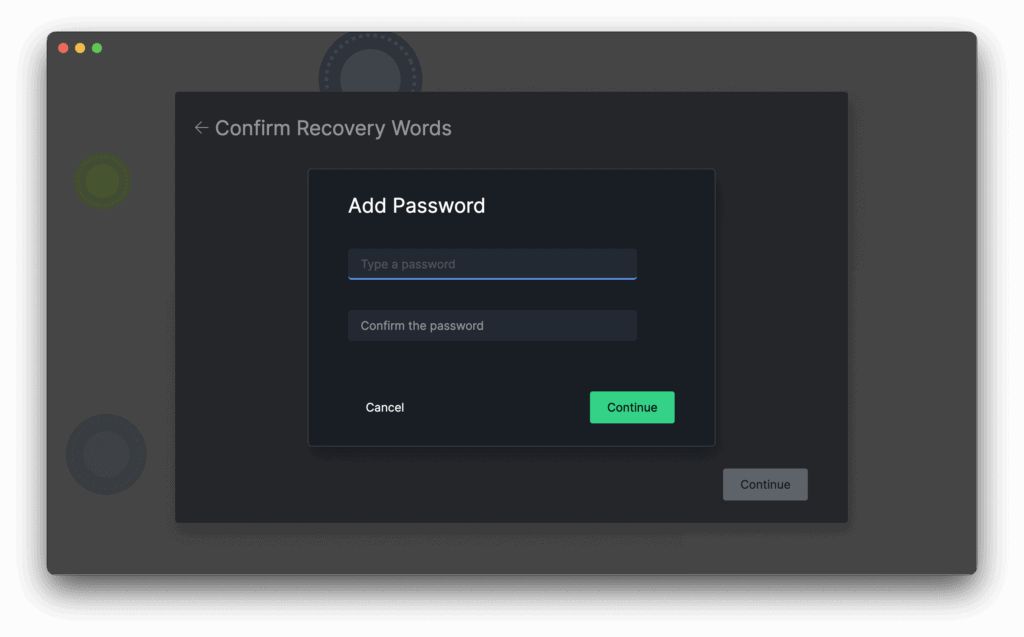
5. After passing the verification of the recovery words a popup window will prompt us to enter a password for the wallet, we do not need a password and could cancel the step but in my case I chose to enter one. After entering the password is chosen to do so click “Continue”.
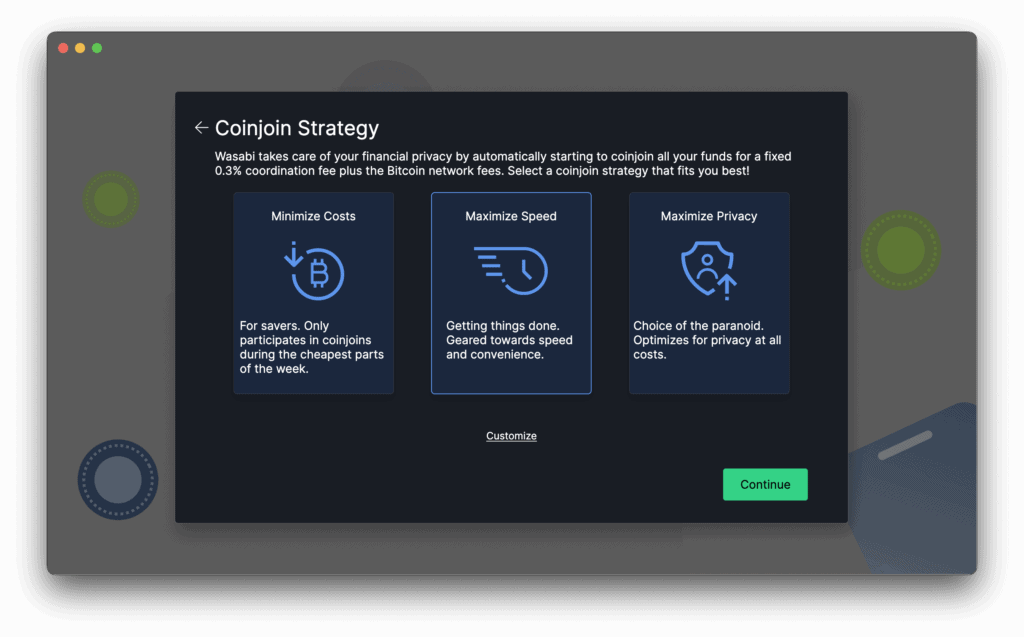
6. Wasabi is a privacy wallet that has been designed to automatically do coinjoins to our coins once deposited (this could be disable and we will cover it later), after creating a password we are presented with a window to select our “Coinjoin Strategy” there are three choices and each one of this can be additionally customized, for the purpose of this post I will choose the “Maximize Speed” option, we select our choice and click continue.
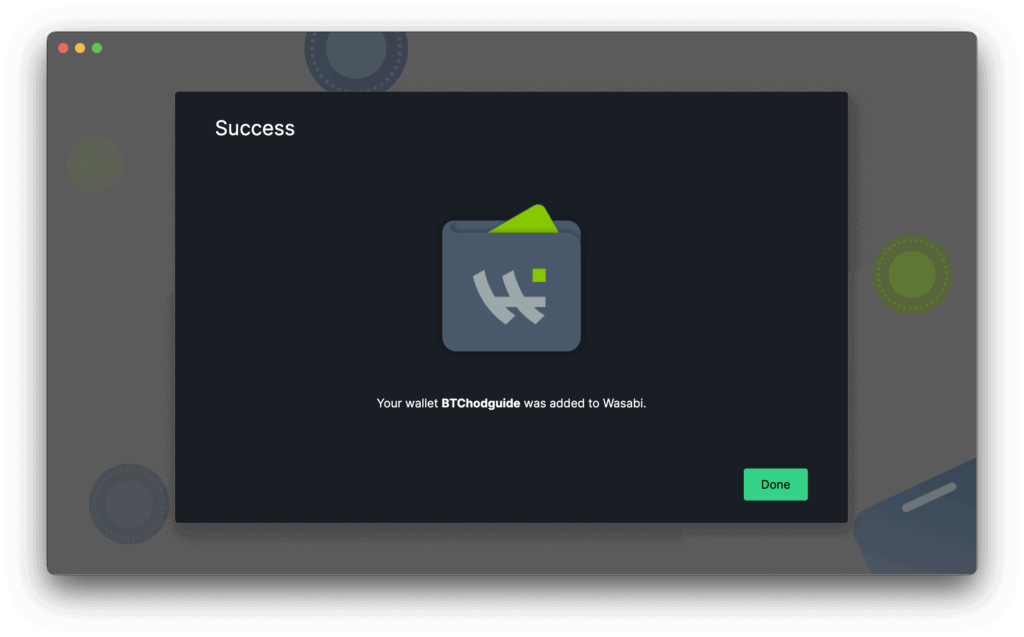
7. At last we receive a “Success” window notifying us that creation of our wallet was created successfully, we need to click “Done” button.
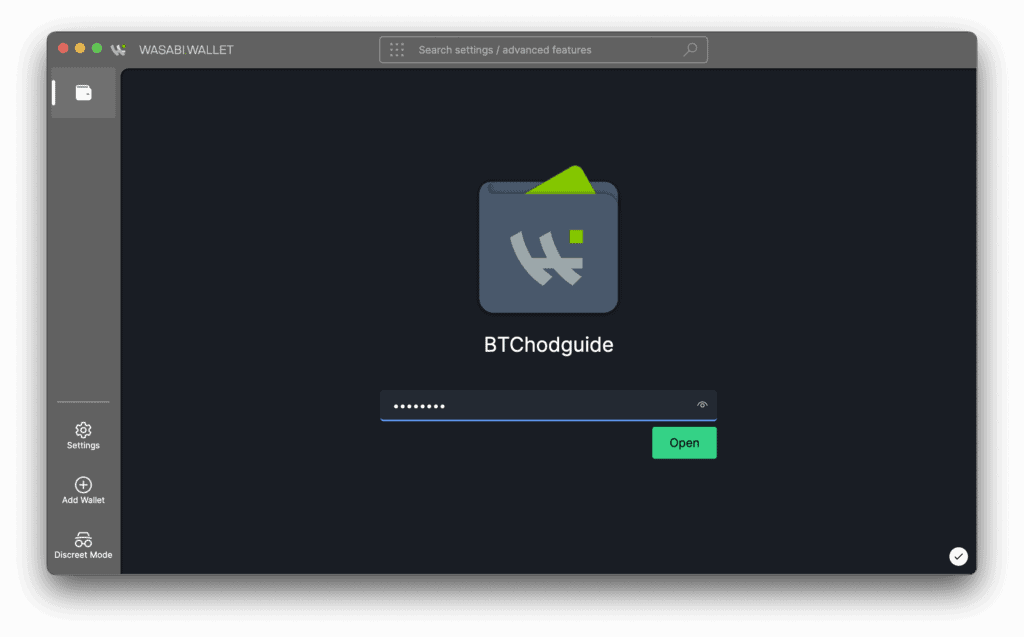
8. After clicking “Done” Wasabi will present us with our newly created wallet prompting us to enter the chosen password in order to unlock it and gain access, once we have entered the correct password we click “Open”.
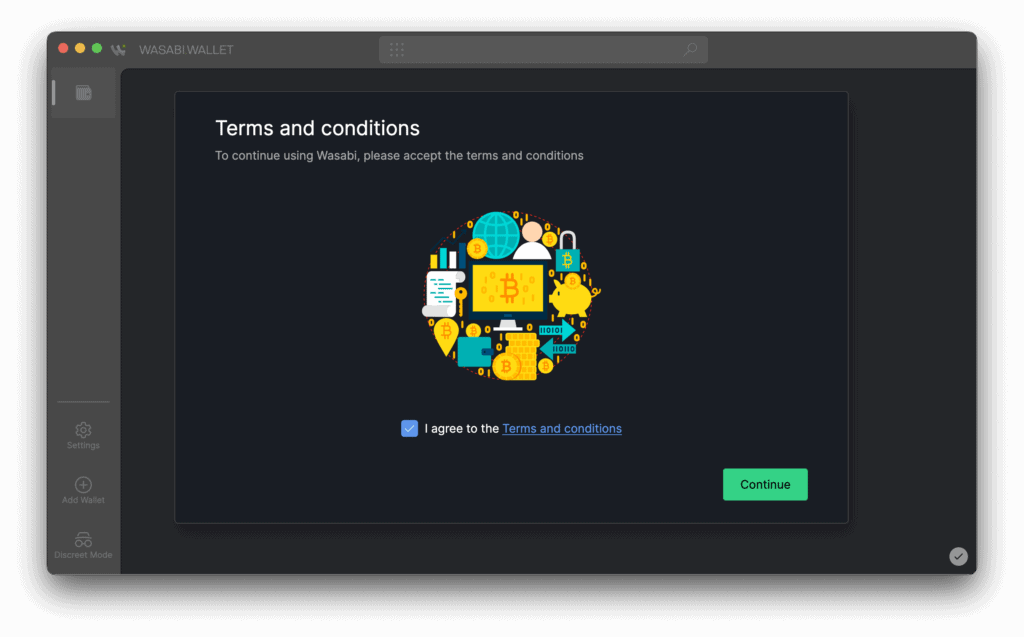
9. Once the wallet is unlocked we are presented with the “Terms and conditions” window after reading the terms and conditions check mark the box to show that you agree with those and click “Continue”
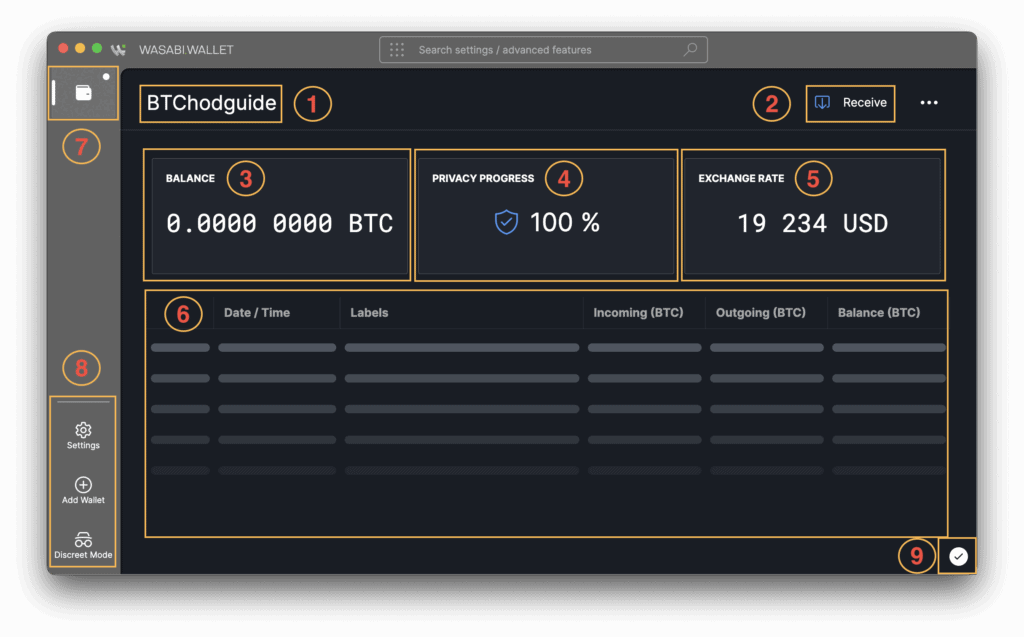
10. After agreeing to the terms and conditions and clicking “Continue” we are presented with the wallet main window, this window contains a lot of information.
- Wallet name.
- Receive Button, once there is a balance on the wallet a Send button will show ton the left of this one.
- Wallet Balance.
- Privacy percentage of the coins in the wallet, this number will vary as you add coins it will lower and once the coinjoin process takes place it will return to 100% and so on.
- Bitcoin USD exchange rate.
- Transactions section, this will show incoming, outgoing, pending and confirmed transactions.
- Wallet selection tabs as you add wallets tabs will appear here to allow us to swap between the different wallets.
- Settings, wallet creation and discrete mode section,
This is all for this post we will continue to make guides using wasabi wallet where we will continue to explain the different processes and uses for the wallet and it different functions, in the mean time you can check out wasabiwallet.io to learn more about Wasabi wallet 2.0.
As always if you notice something that is not correct or you have any Ideas or suggestions please contact us by mailing us at [email protected] you can also use our contact page to reach us.

