Have a Trezor wallet and would like to update the firmware of your device to Bitcoin only, today we will cover here how to get that accomplished.
Let’s get started
You will need to your Trezor device, a USB cable to connect to your computer and the latest version of Trezor Suite App, in my case I used the linux version on my computer I imagine you could use the web Trezor Suite version but I have not accomplished it using that. We assume that you have already installed Trezor Suite App on your operating system and will not cover that in this guide.
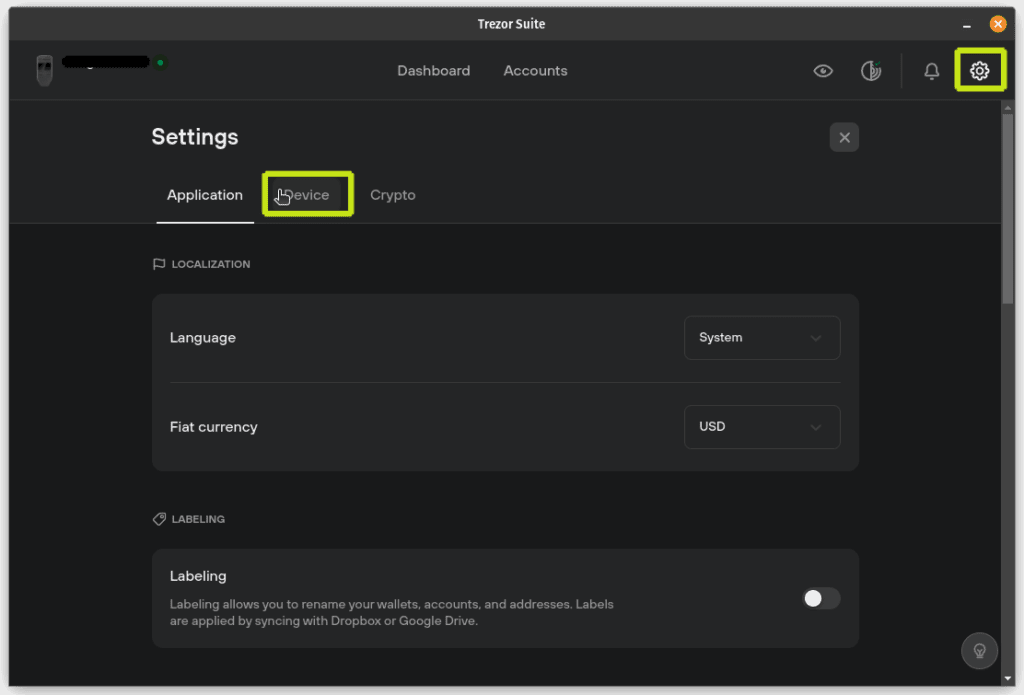
Open the Trezor Suite App, connect you Trezor to the app and navigate to “Settings” by clicking on the gear icon on the right upper corner, once in the “Settings” window click to select the “Device” tab.
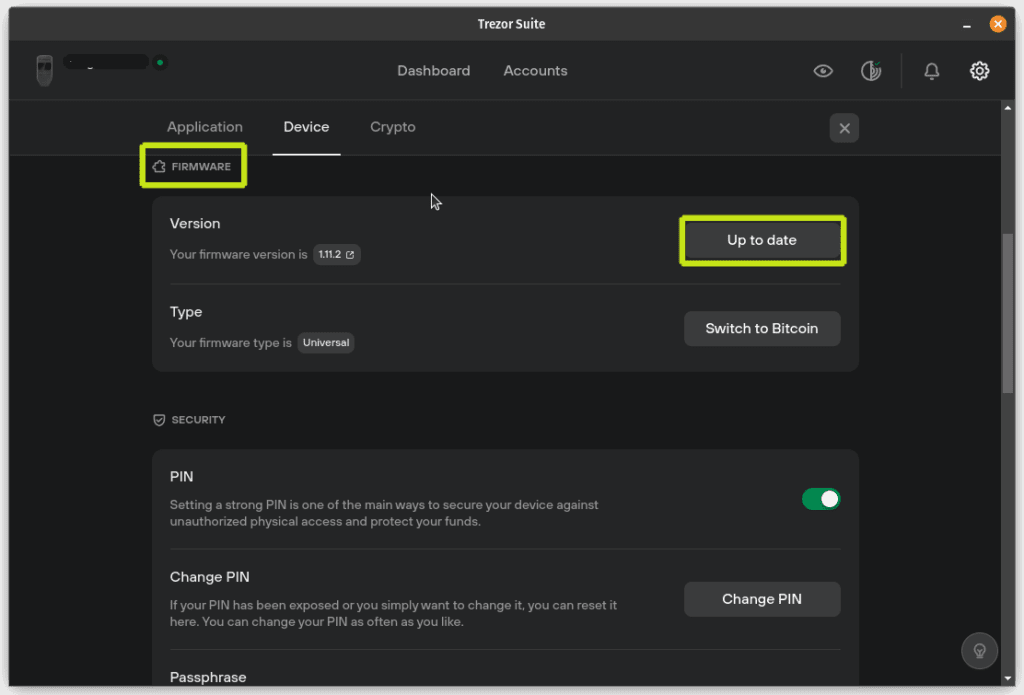
Once on the “Device” tab verify that your firmware is up to date if it is not update your device to the latest firmware available for it, in my case I am using a Trezor One and I was a few versions back once you have upgraded and “up to date” your button would be as below.
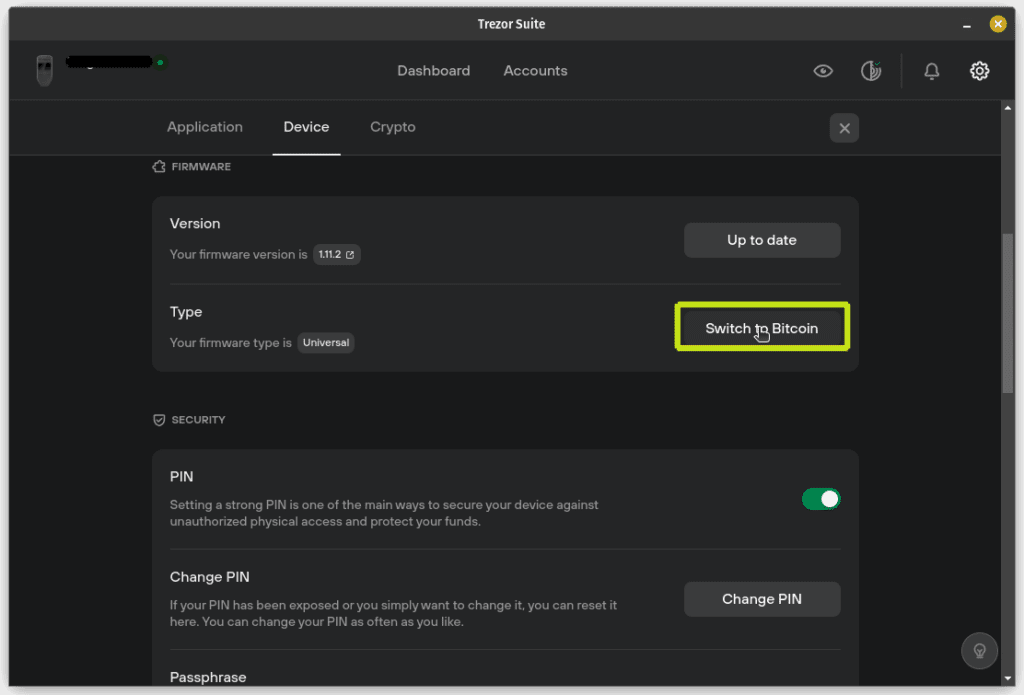
After having your device updated to the latest current firmware available for it and still connected to the Trezor Suite App you should see the “Switch to Bitcoin” button available to you. Go ahead and click that button to start.
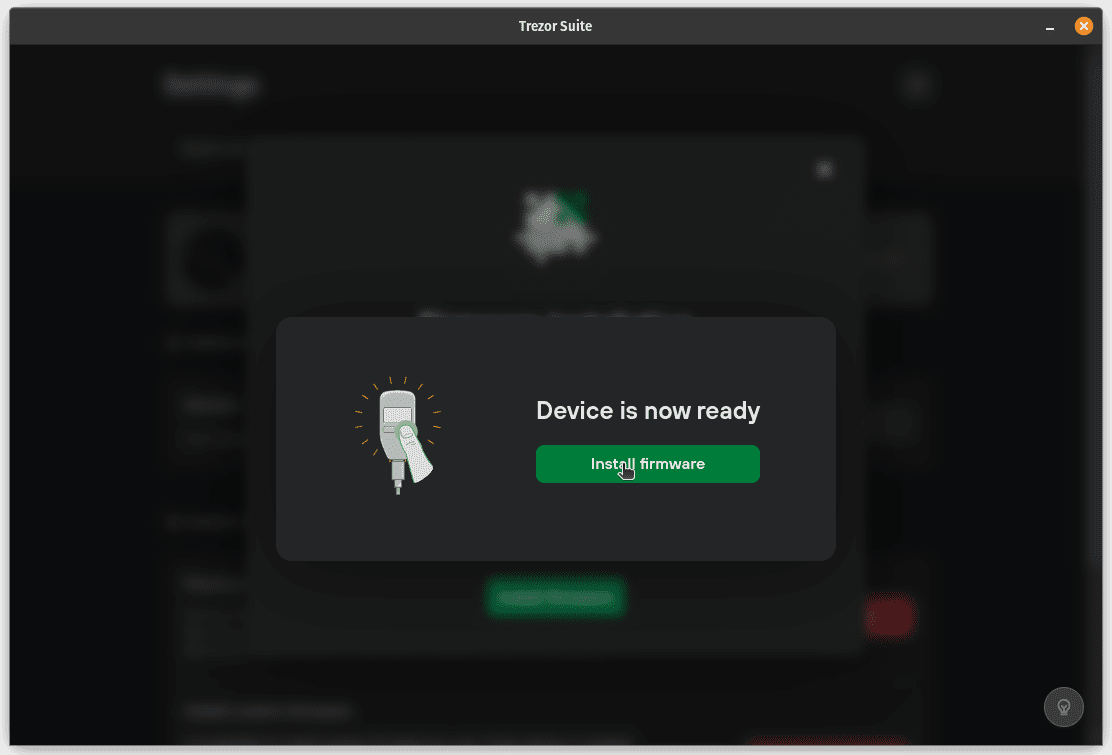
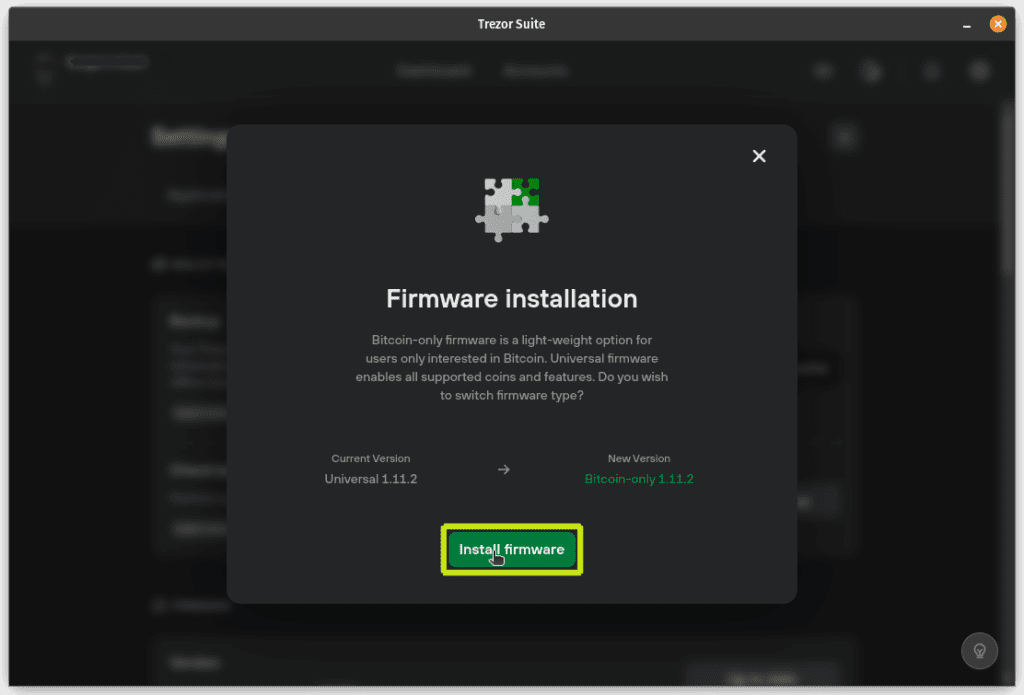
Once you click the “Switch to Bitcoin” button you will get a pop up window explaining what the Bitcoin only firmware is all about it will also show which firmware version you will be switching from and to, click the “Install firmware” button at this time.
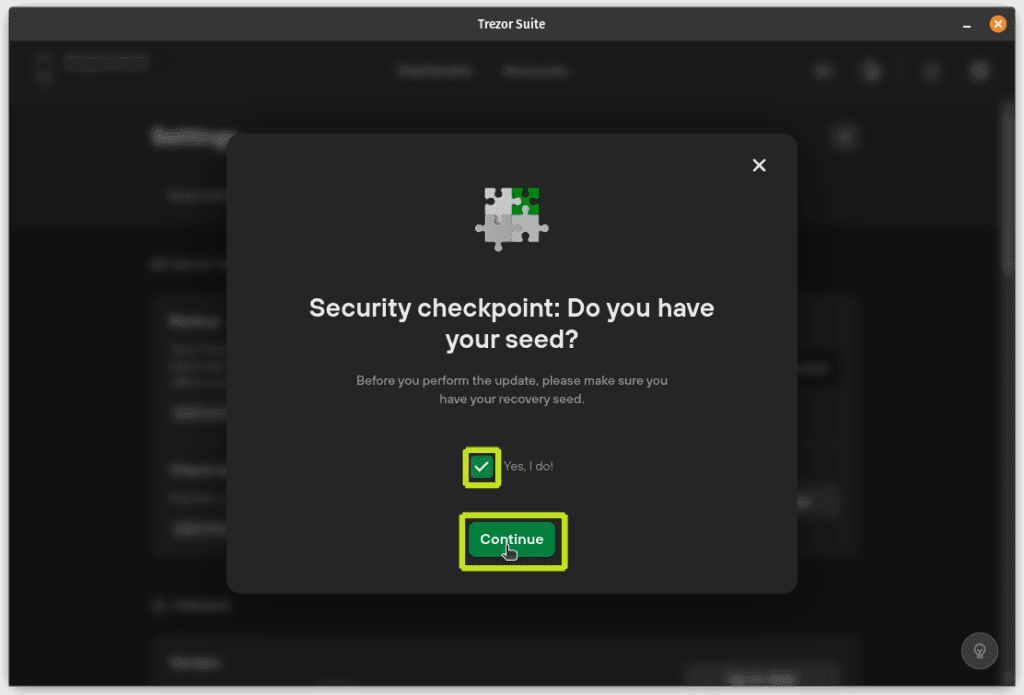
After clicking “install firmware” button the pop up will change to a verification point to ensure that you have your seed and can use it if anything goes wrong and you need to restore your wallet, having your see available is very important every time you update your firmware.
Once you have confirm that you have access to your seed go ahead tick the “Yes, I do!” box and click the “Continue” button.
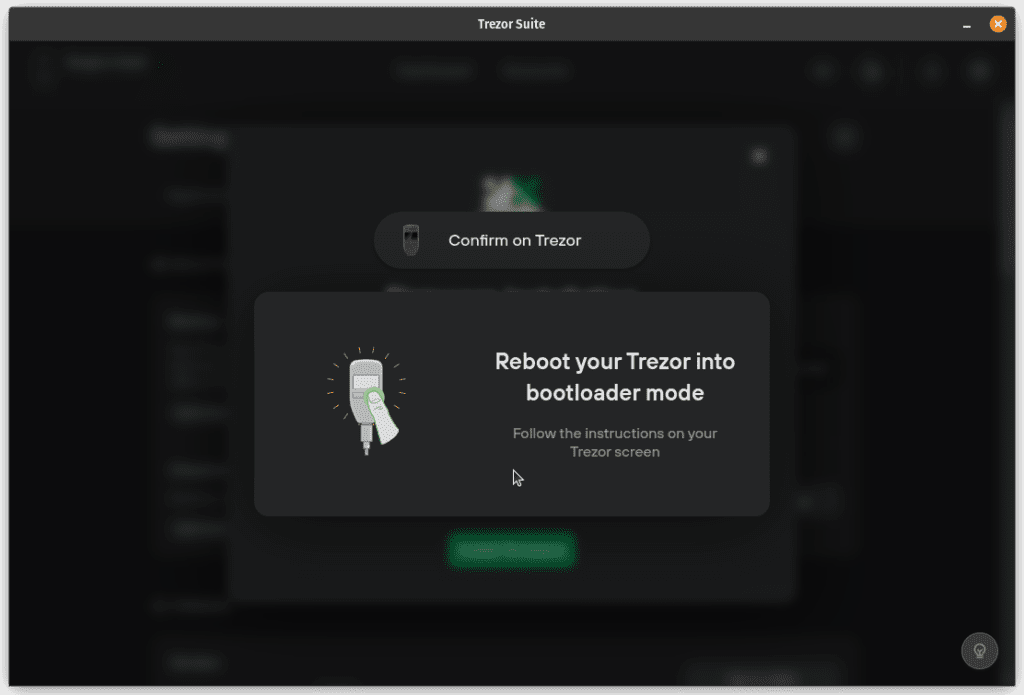
Once you click “Continue” verifying that you have your seed you should receive a notification to reboot your Trezor into bootloader mode by confirming on your Trezor by selecting the confirm option on your Trezor.
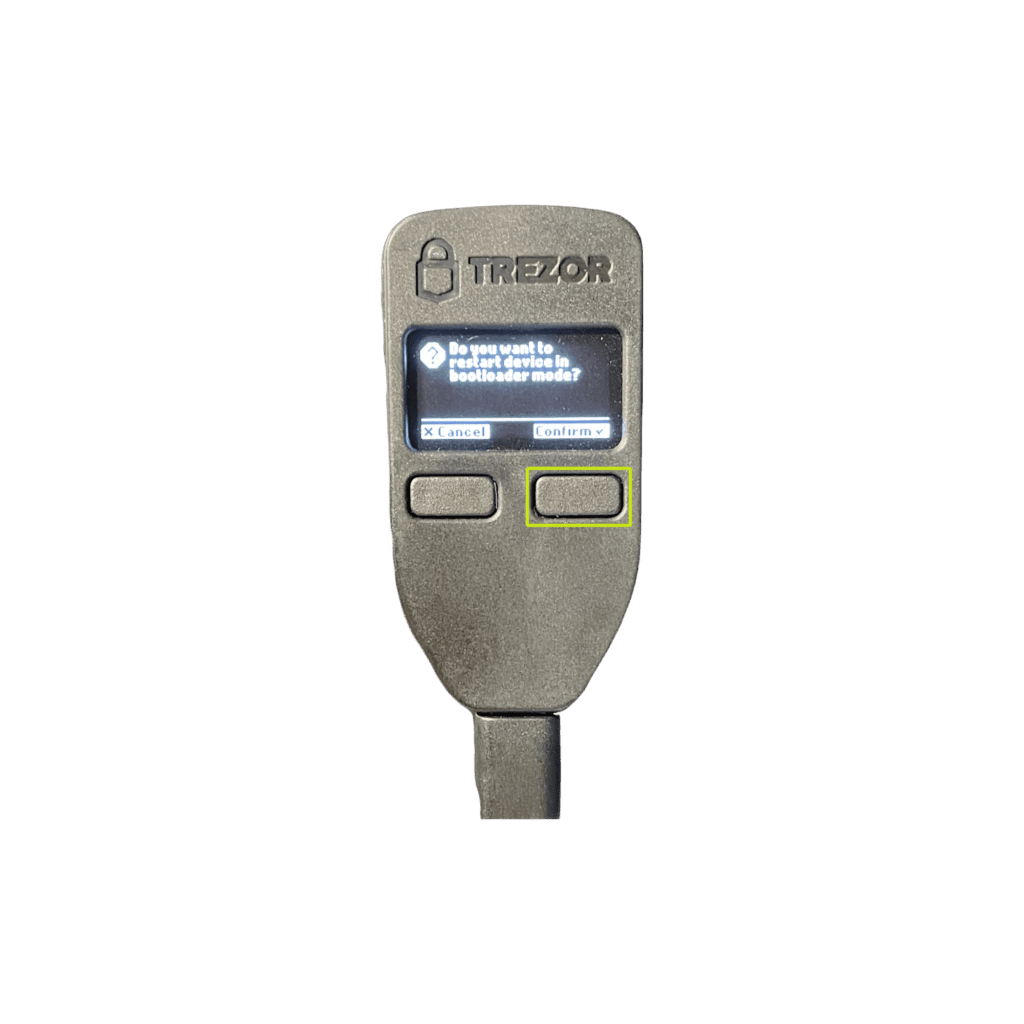
Next once you have entered bootloader mode click “Install firmware” on your Trezor Suite App and on you Trezor click the right button to confirm the installation of new firmware.
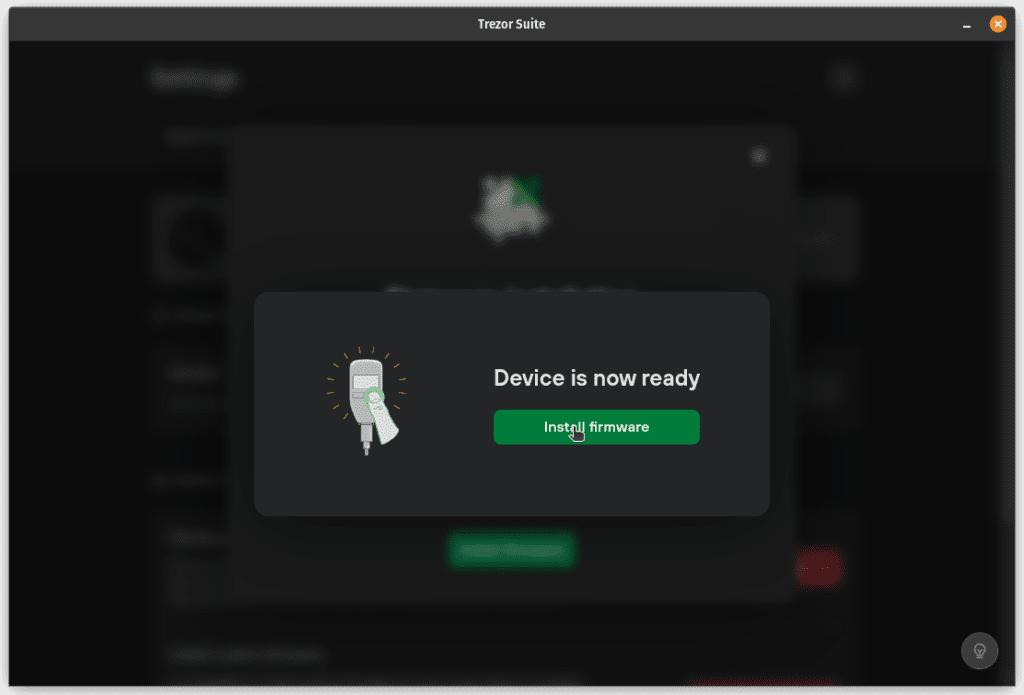
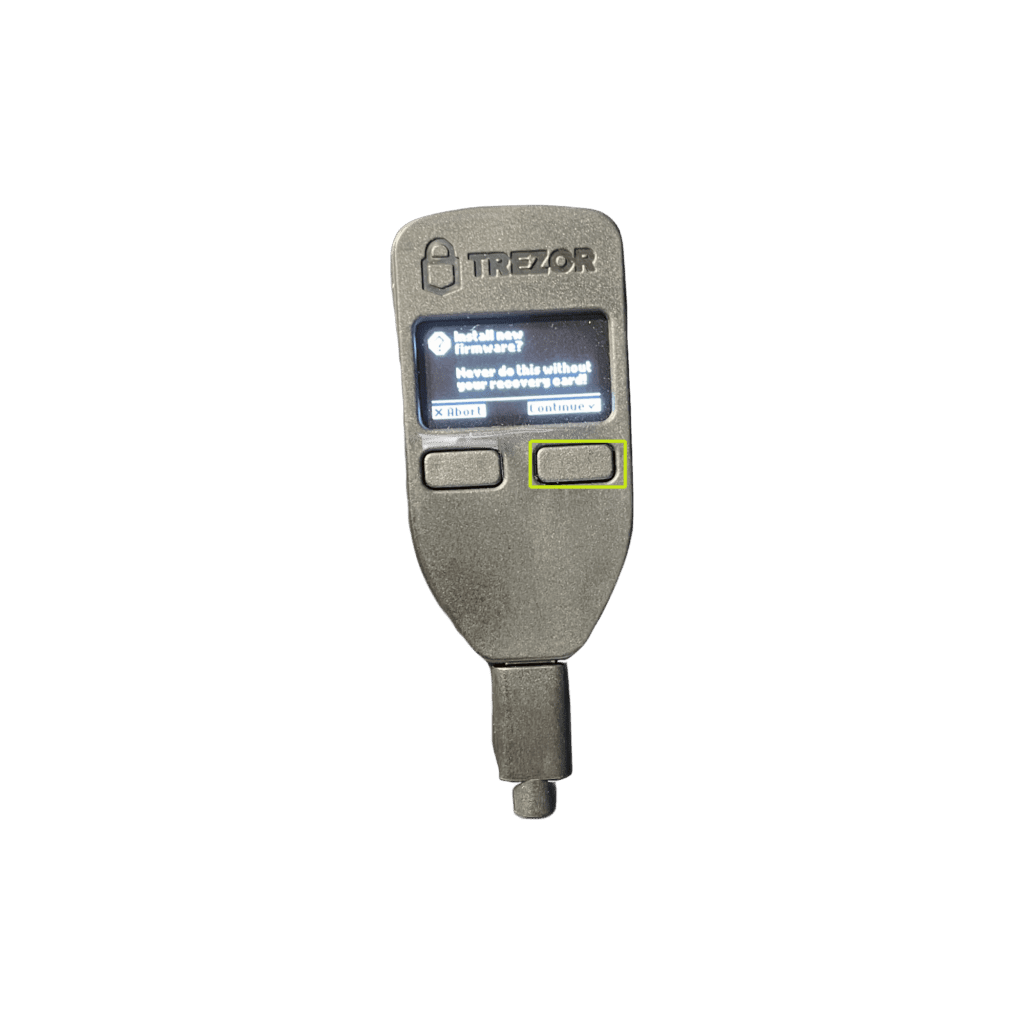
After selecting to start the firmware installation you will see the progress of the upgrade on your Trezor Suite App and on your Trezor.
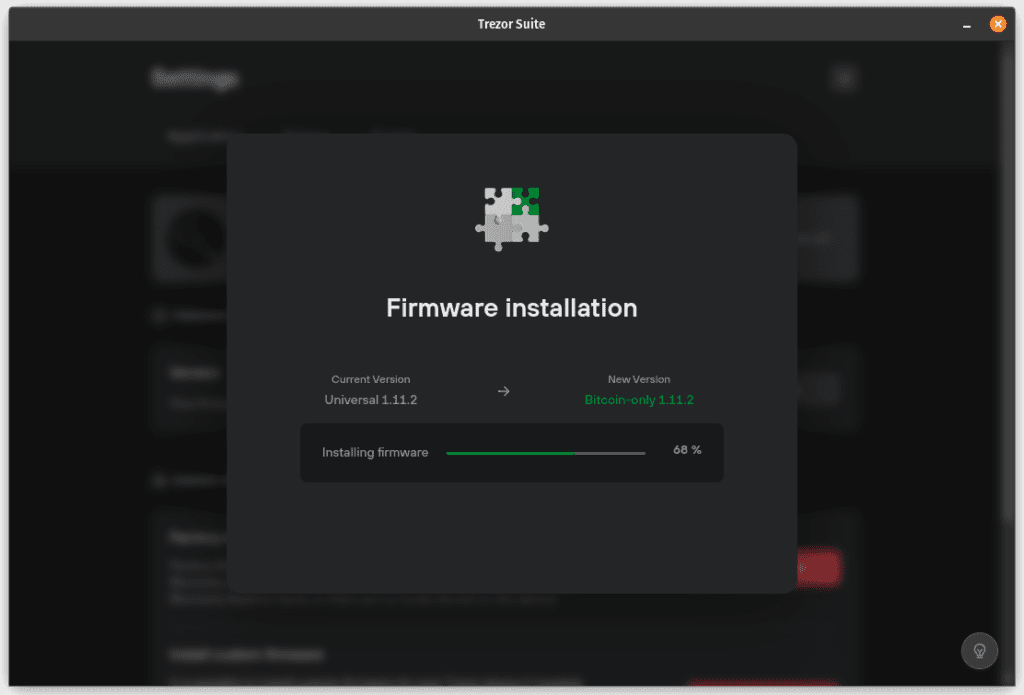
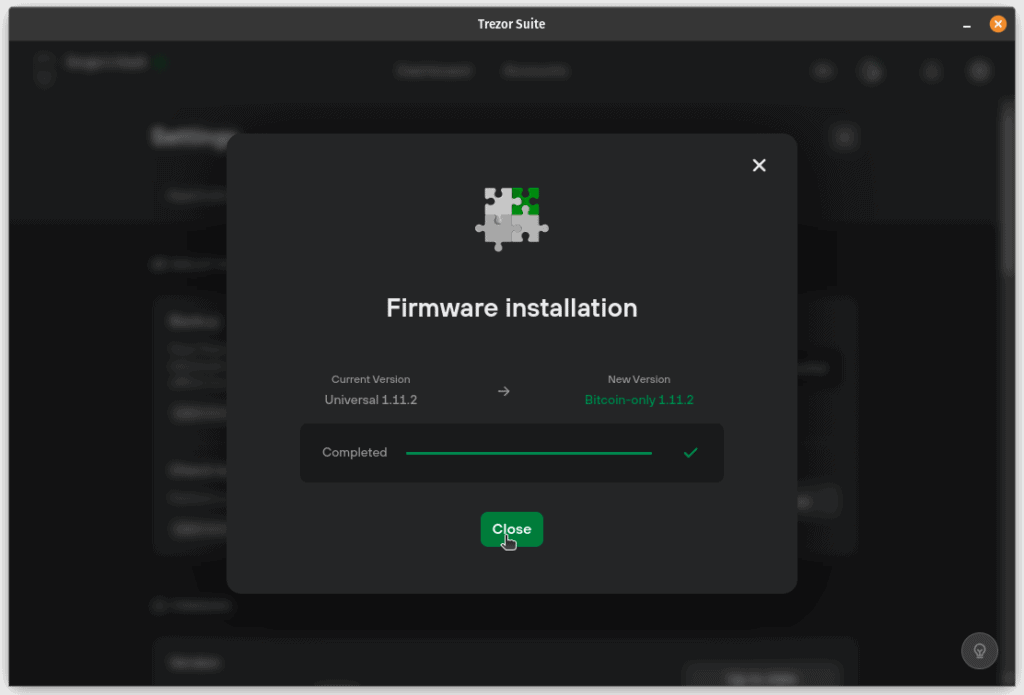
Your Trezor now should be loaded with the Bitcoin only firmware and should only be able to handle Bitcoin transactions. And under the Crypto tab in the Trezor Suite App you should see a line inviting you to install the “Universal” firmware to be able to have more coins available and Bitcoin should be the only active.
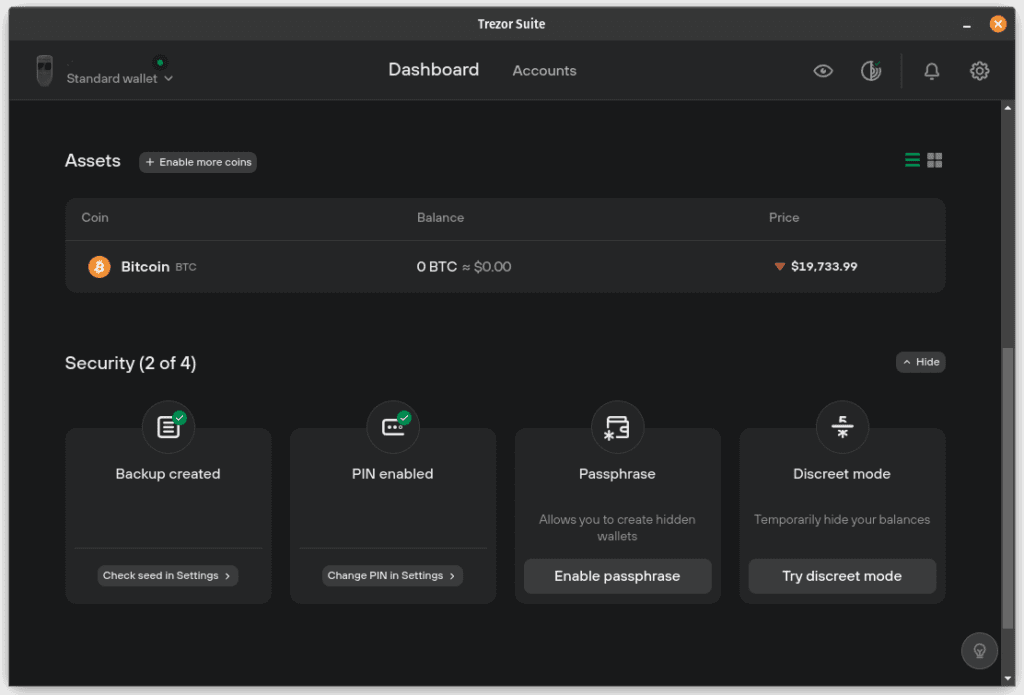
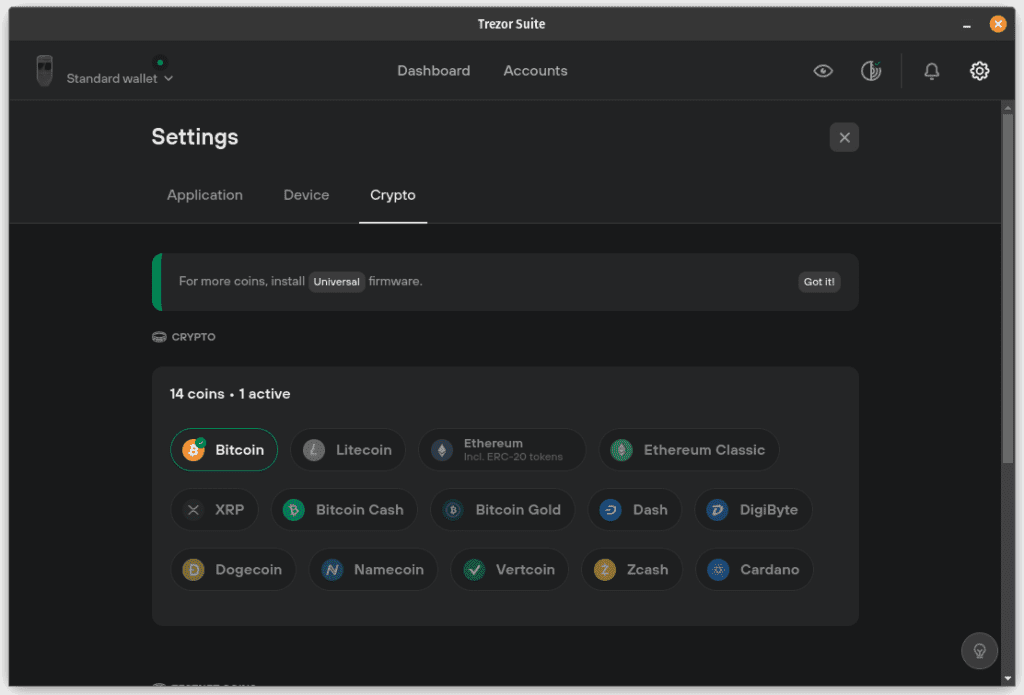
And that is it after this your Trezor should be Bitcoin only helping you reduce attach surface by removing all other coin software from the device firmware.
That is all for this post, Thank you for reading through and hope this helped you setup your Trezor as a Bitcoin only device, if you find something wrong or out of sequence with this guide please contact us.

