
On our last SeedSigner post we generated a seed and created a QR code for quick access to our seed without having to enter all 12 word every time we need to access it, you can find that post here.
Now that we have our seed we are going to set up Sparrow Wallet to be able to receive and send bitcoin using SeedSigner and our seed, this guide assumes that Sparrow Wallet has been previously installed on the computer you are using, if this is not the case please install Sparrow Wallet and then comeback here to continue. In order to accomplish this download the wallet for your operating system here and install while there you should take the time to check their website out and learn more about it.
We will also be going over a few of the points that we covered during our last post in order to get to where we need to be, OK Let’s get to it.
Loading our seed:
First we need to grab our 12 seed word template sheet tat we used to generate our see and create our QR code and scan the QR with our SeedSigner to load our seed.
- Select “Seed Tools” from the SeedSigner main menu.

- In the Seed Tools menu select “Temp Seed Storage”

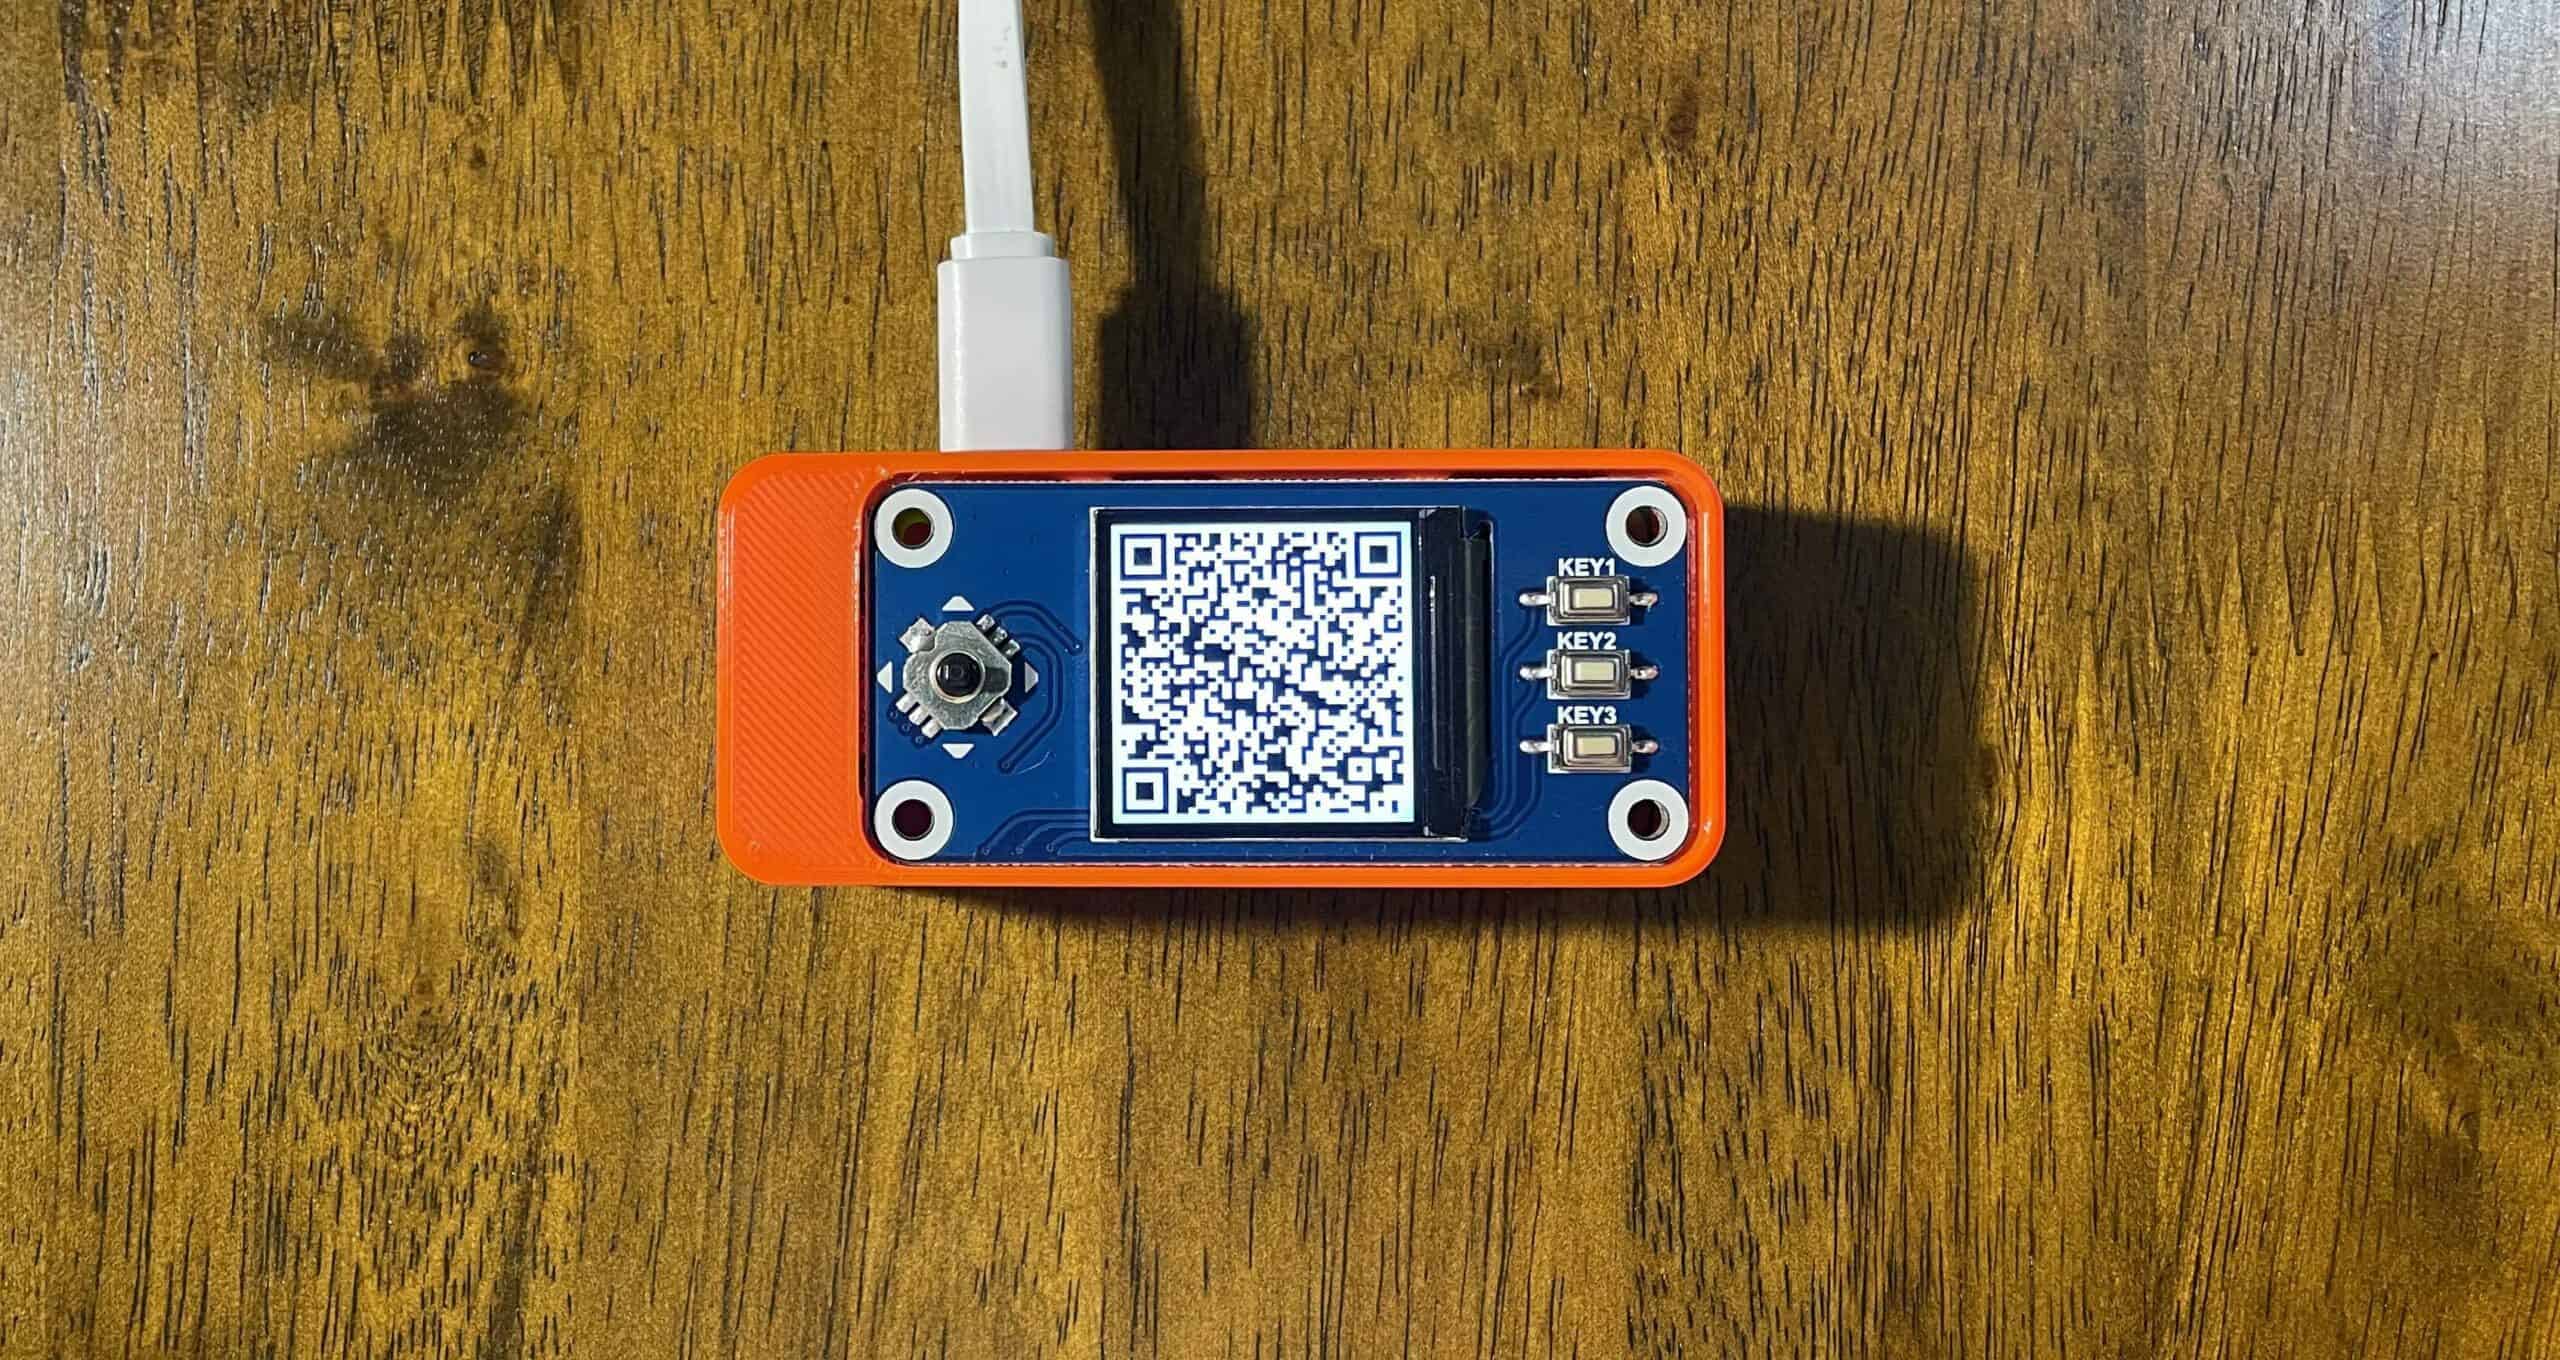
- Now select “Use Seed Slot #1”

- From here select “Scan a Seed QR Code” the camera will open we’ll go ahead and scan the QR code from our sheet, click right we will be presented with our 12 words, verify these look good and click right we now have saved our seed to slot #1 and you should receive confirmation “Saved to Slot #1”, click right once again and you will return to the Seed Tools menu.


Generating our xPub QR code:
- Now we need to generate our Xpub QR in order to be able to setup Sparrow Wallet, On the main menu select “Seed Tools”.

- From the Seed Tools menu now select “xPub from Seed”.

- We will be asked if we would like to “Use Saved Seed?” and select “Yes”

- We are now be presented with the option to use our desire seed slot for this guide we will select “Use Seed Slot #1” since we have not loaded any other seeds.

- We will now be presented with our 12 words to verify and once again is a good idea to compare to our template words.

- Once our seed words have been verified click right, the “Xpub Info” page will load click right once again.

- After clicking next to proceed we are presented with the wallet selection page we will need to select “Sparrow”.

- Once Sparrow has been selected SeedSigner will generate our xPub QR code.

Creating a wallet in Sparrow:

- At this time we need to move to our computer and open Sparrow Wallet and go to “File” menu and select “New Wallet” from the drop down.

- A “Wallet Name” window will pop up, go ahead and name our wallet to something we could recognize later I am calling it SeedSigner Guide and click “Create Wallet”

- On the next window verify that we have “Single Signature” and “Native Segwit” selected and click “Airgapped Hardware Wallet”

- Next from the Airgapped Hardware Wallet window go ahead and select “Scan…” from the SeedSigner section.

- After selecting the Scan… button the camera window will open, we now need to point our xPub QR code to the camera and have it scanned by Sparrow.

- Once the xPub QR gets scanned Sparrow will prompt us to create a password for our newly created wallet. You may up not to create a password I always do but the choice is yours.

- After adding a password our wallet in Sparrow has been create it.

Congratulations with this we have concluded our single signature wallet using SeedSigner and Sparrow Wallet, we can now use Sparrow wallet to receive and send Bitcoin.
On our future posts we will be covering the creation of multi sig wallets using more that one seed on our SeedSigner device and an additional hardware wallet, we will also cover how to send and receive from our single sig and multi sig wallets.
If you would like to learn more about SeedSigner you can visit the project website https://seedsigner.com
If you would like to learn more about Sparrow Wallet and it features you can visit the project website https://sparrowwallet.com
As always thank you for your time.