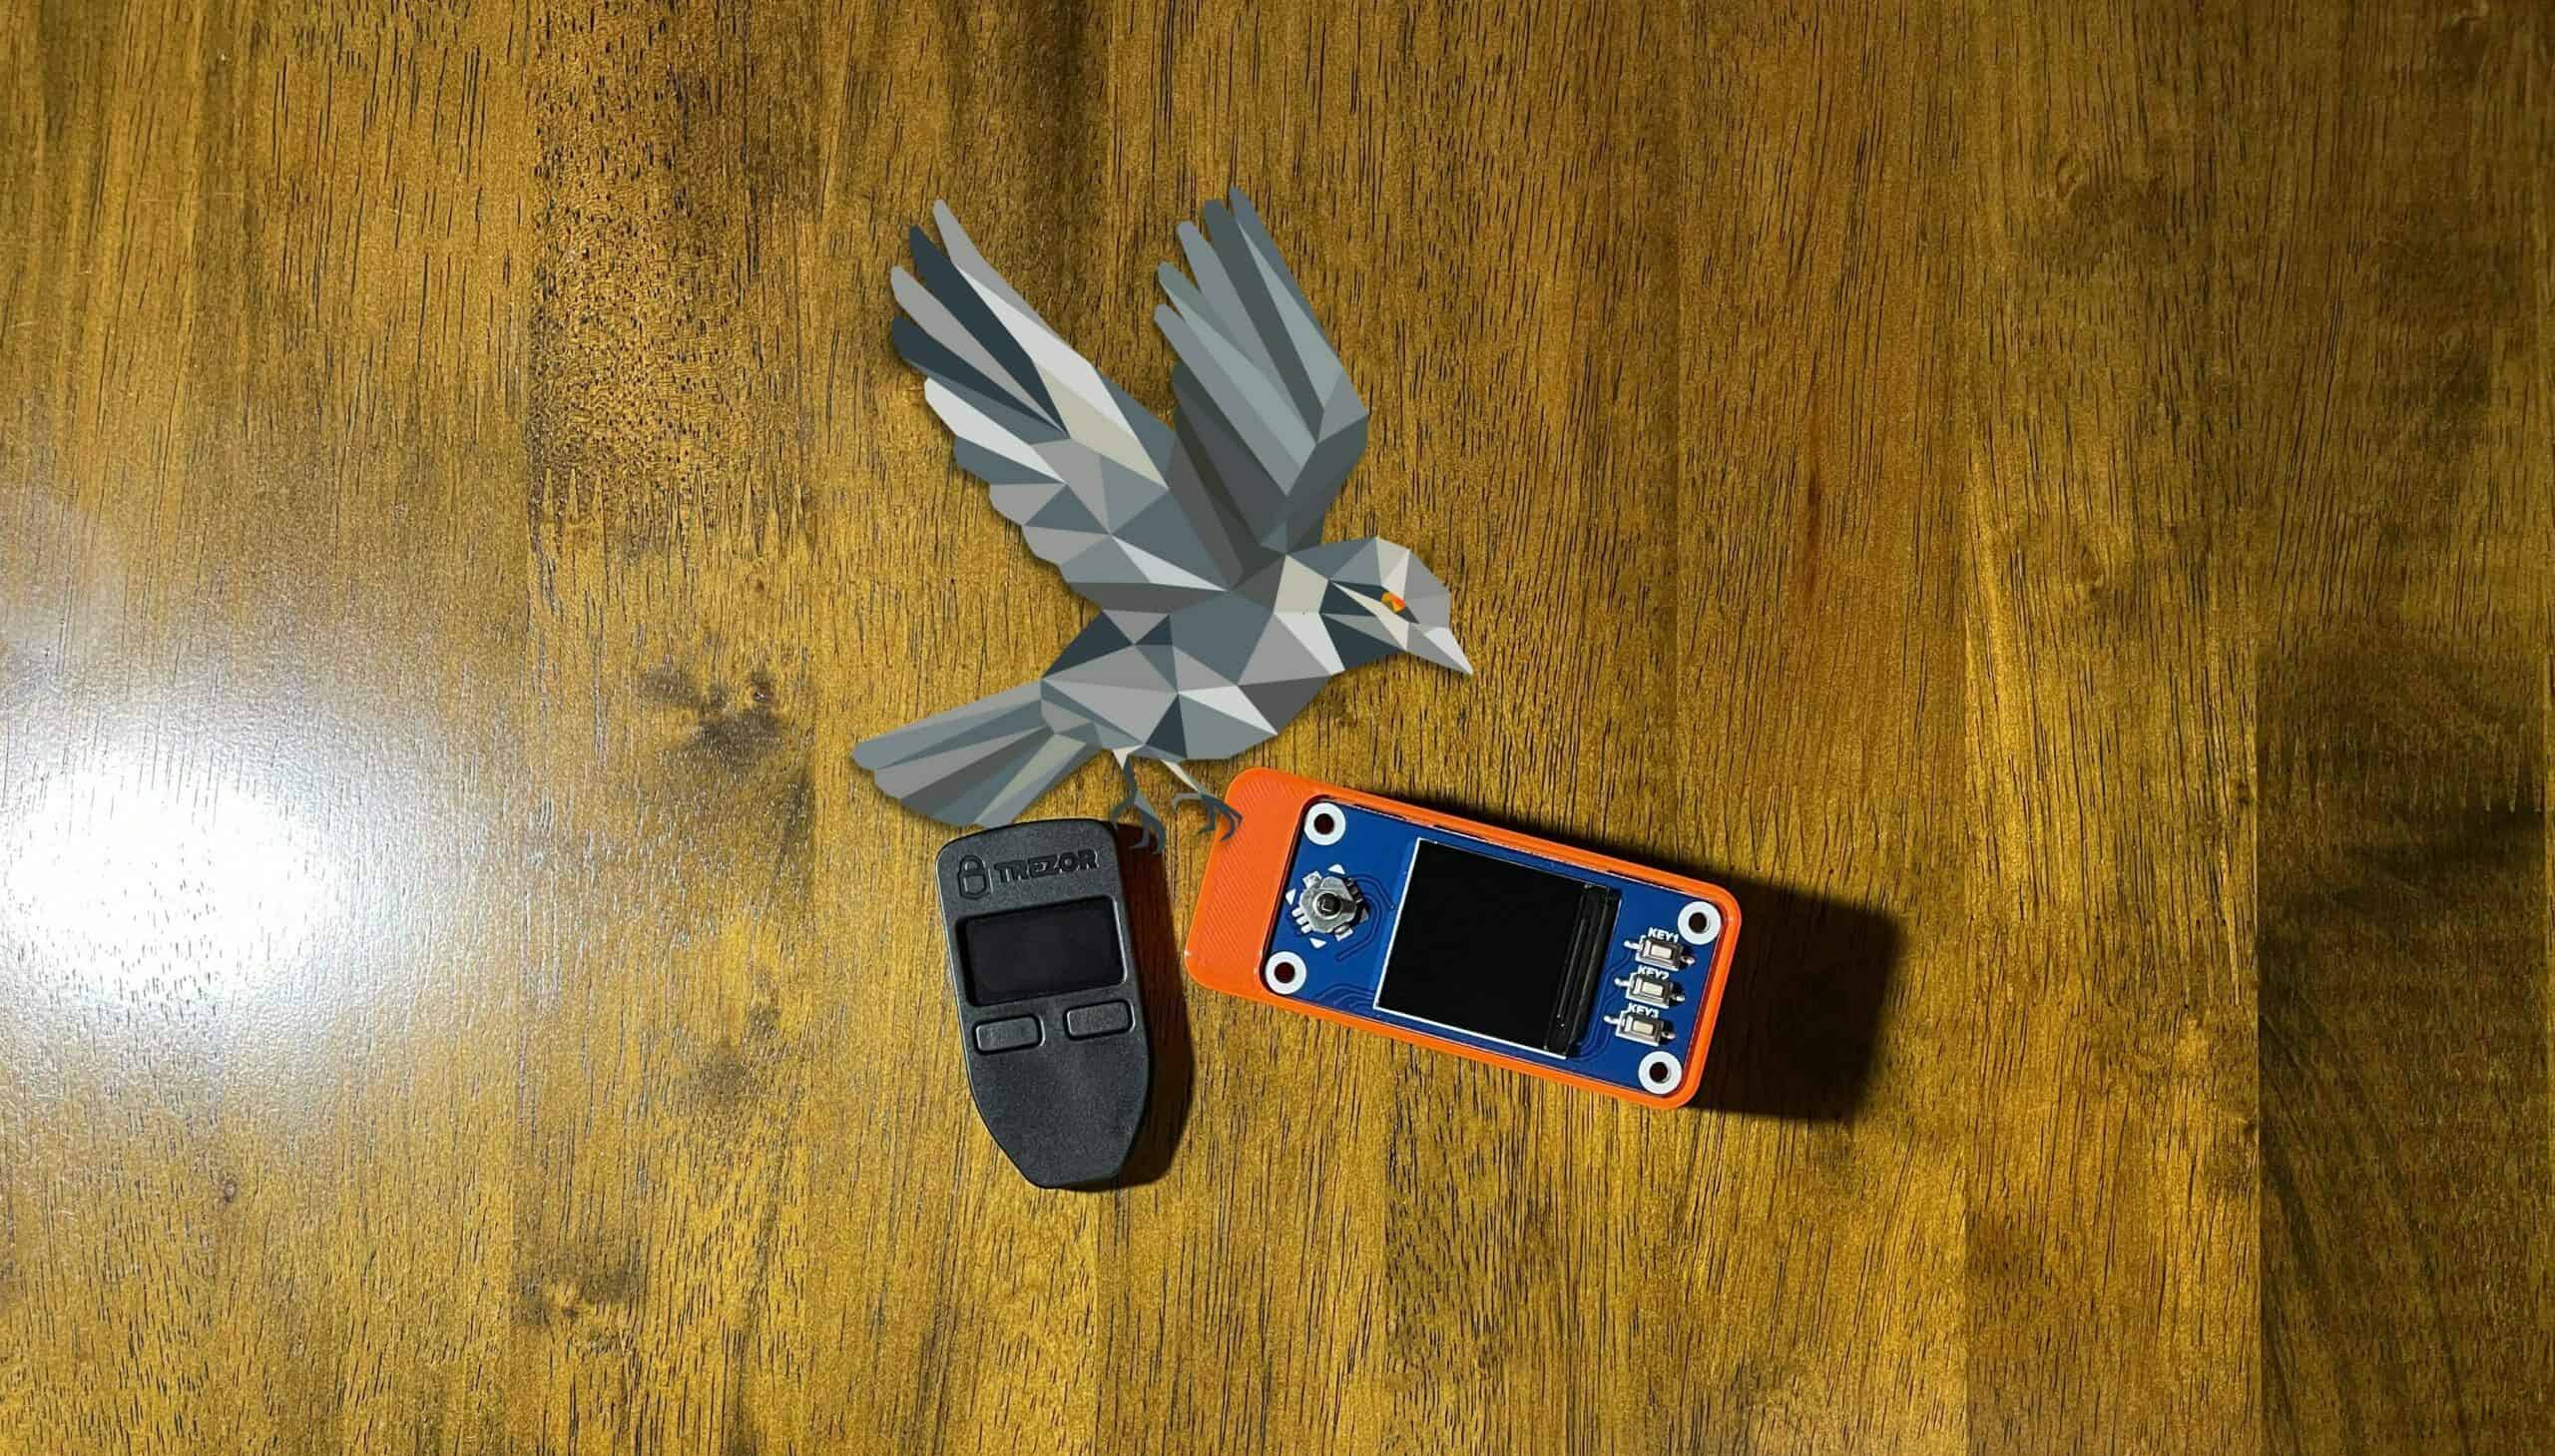
On the last SeedSigner post we cover creating a Single-Sig (Single Signature) wallet using a seed on our SeedSigner and Sparrow Wallet you can find that here, in this guide we are going to setup a Multi-Sig (Multiple Signature) wallet using two seeds on our SeedSigner with another hardware device in this case a Trezor One and Sparrow Wallet.
This wallet will be comprised of three keys two of them will be on our SeedSigner and the other will be a Trezor One, if a Trezor one is not available you should be able to follow this guide using one of the hardware wallets compatible with Sparrow.
What we need:
- Sparrow Wallet installed.
- Two SeedSigner Seed/QR templates.
- Trezor One already setup (other hardware wallets could be used)
Ok let’s get started:
Seed/QR templates and Xpub QR codes:
First thing we need is to create two seeds if not already available and save them onto our SeedSigner we have previously covered this here, if you need to create your seeds and temp save them onto your SeedSigner please follow those steps first and then return here to continue with the steps below.
We will also need to create the Xpub QR codes corresponding to the seeds above and these will be used to load onto Sparrow Wallet we have previously cover this here.
Setting up Sparrow Wallet:
- Open Sparrow wallet and go to File menu and select New Wallet:

- On the new wallet creation section of the wallet select “Multi Signature” ensure “Native Segwit (P2WSH)” is selected and for this guide ensure that “cosigners 2 of 3” is selected.

- The next two steps are identical we will be loading our two SeedSigner Xpub’s to generate our first two cosigners, Under “Keystore 1” select “Airgapped Hardware Wallet” and scan your first SeedSigner Xpub QR, after this has been completed do the same using “Keystore 2” tab, this will load our first two out of three cosigners from our SeedSigner. If you need help on how to accomplish this you can follow this guide.

- Next select “Keystore 3” and under this tab select “Connected Hardware Wallet”

- On the popup window verify that “Connected Hardware Wallet” is selected and click “Scan”

- After clicking Scan… our Trezor One should be recognized and show up at this time me need to click “Select Keystore” this will import our third and last cosigner for this wallet.

- Once all Keystores have been loaded go ahead and select “Apply”

- Once you have clicked on the “Apply” button a “Wallet Password” window will popup at this time if you which to do so set your password in my case I always do, once you have entered your password of choice click “Set Password” if you would like to continue without a password click “Cancel”

- We now have a multi-sig wallet that is ready to receive and send transactions.

Congratulations with this we have concluded our multi signature wallet creation using SeedSigner, Trezor One and Sparrow Wallet, we can now use Sparrow wallet to receive and send Bitcoin.
On our future posts we will be covering how to send and receive from our single sig to our multi-sig and sending from our multi-sig wallets.
If you would like to learn more about SeedSigner you can visit the project website https://seedsigner.com
If you would like to learn more about Sparrow Wallet and it features you can visit the project website https://sparrowwallet.com
If you would like to learn more about Trezor One you can visit their website https://trezor.io
As always thank you for your time.

